Guides
How To Fix Directional Buttons (DPAD) on a PSP 2000


Intro
In this guide I will show you how to replace the Directional Buttons/Pad (DPAD) on the PSP 2000 Model.
- Phillips head Screwdriver
- Plastic Pry tool
- Replacement DPAD Flex
- 99.9% Isopropyl Rubbing Alcohol (Optional)
Step 1
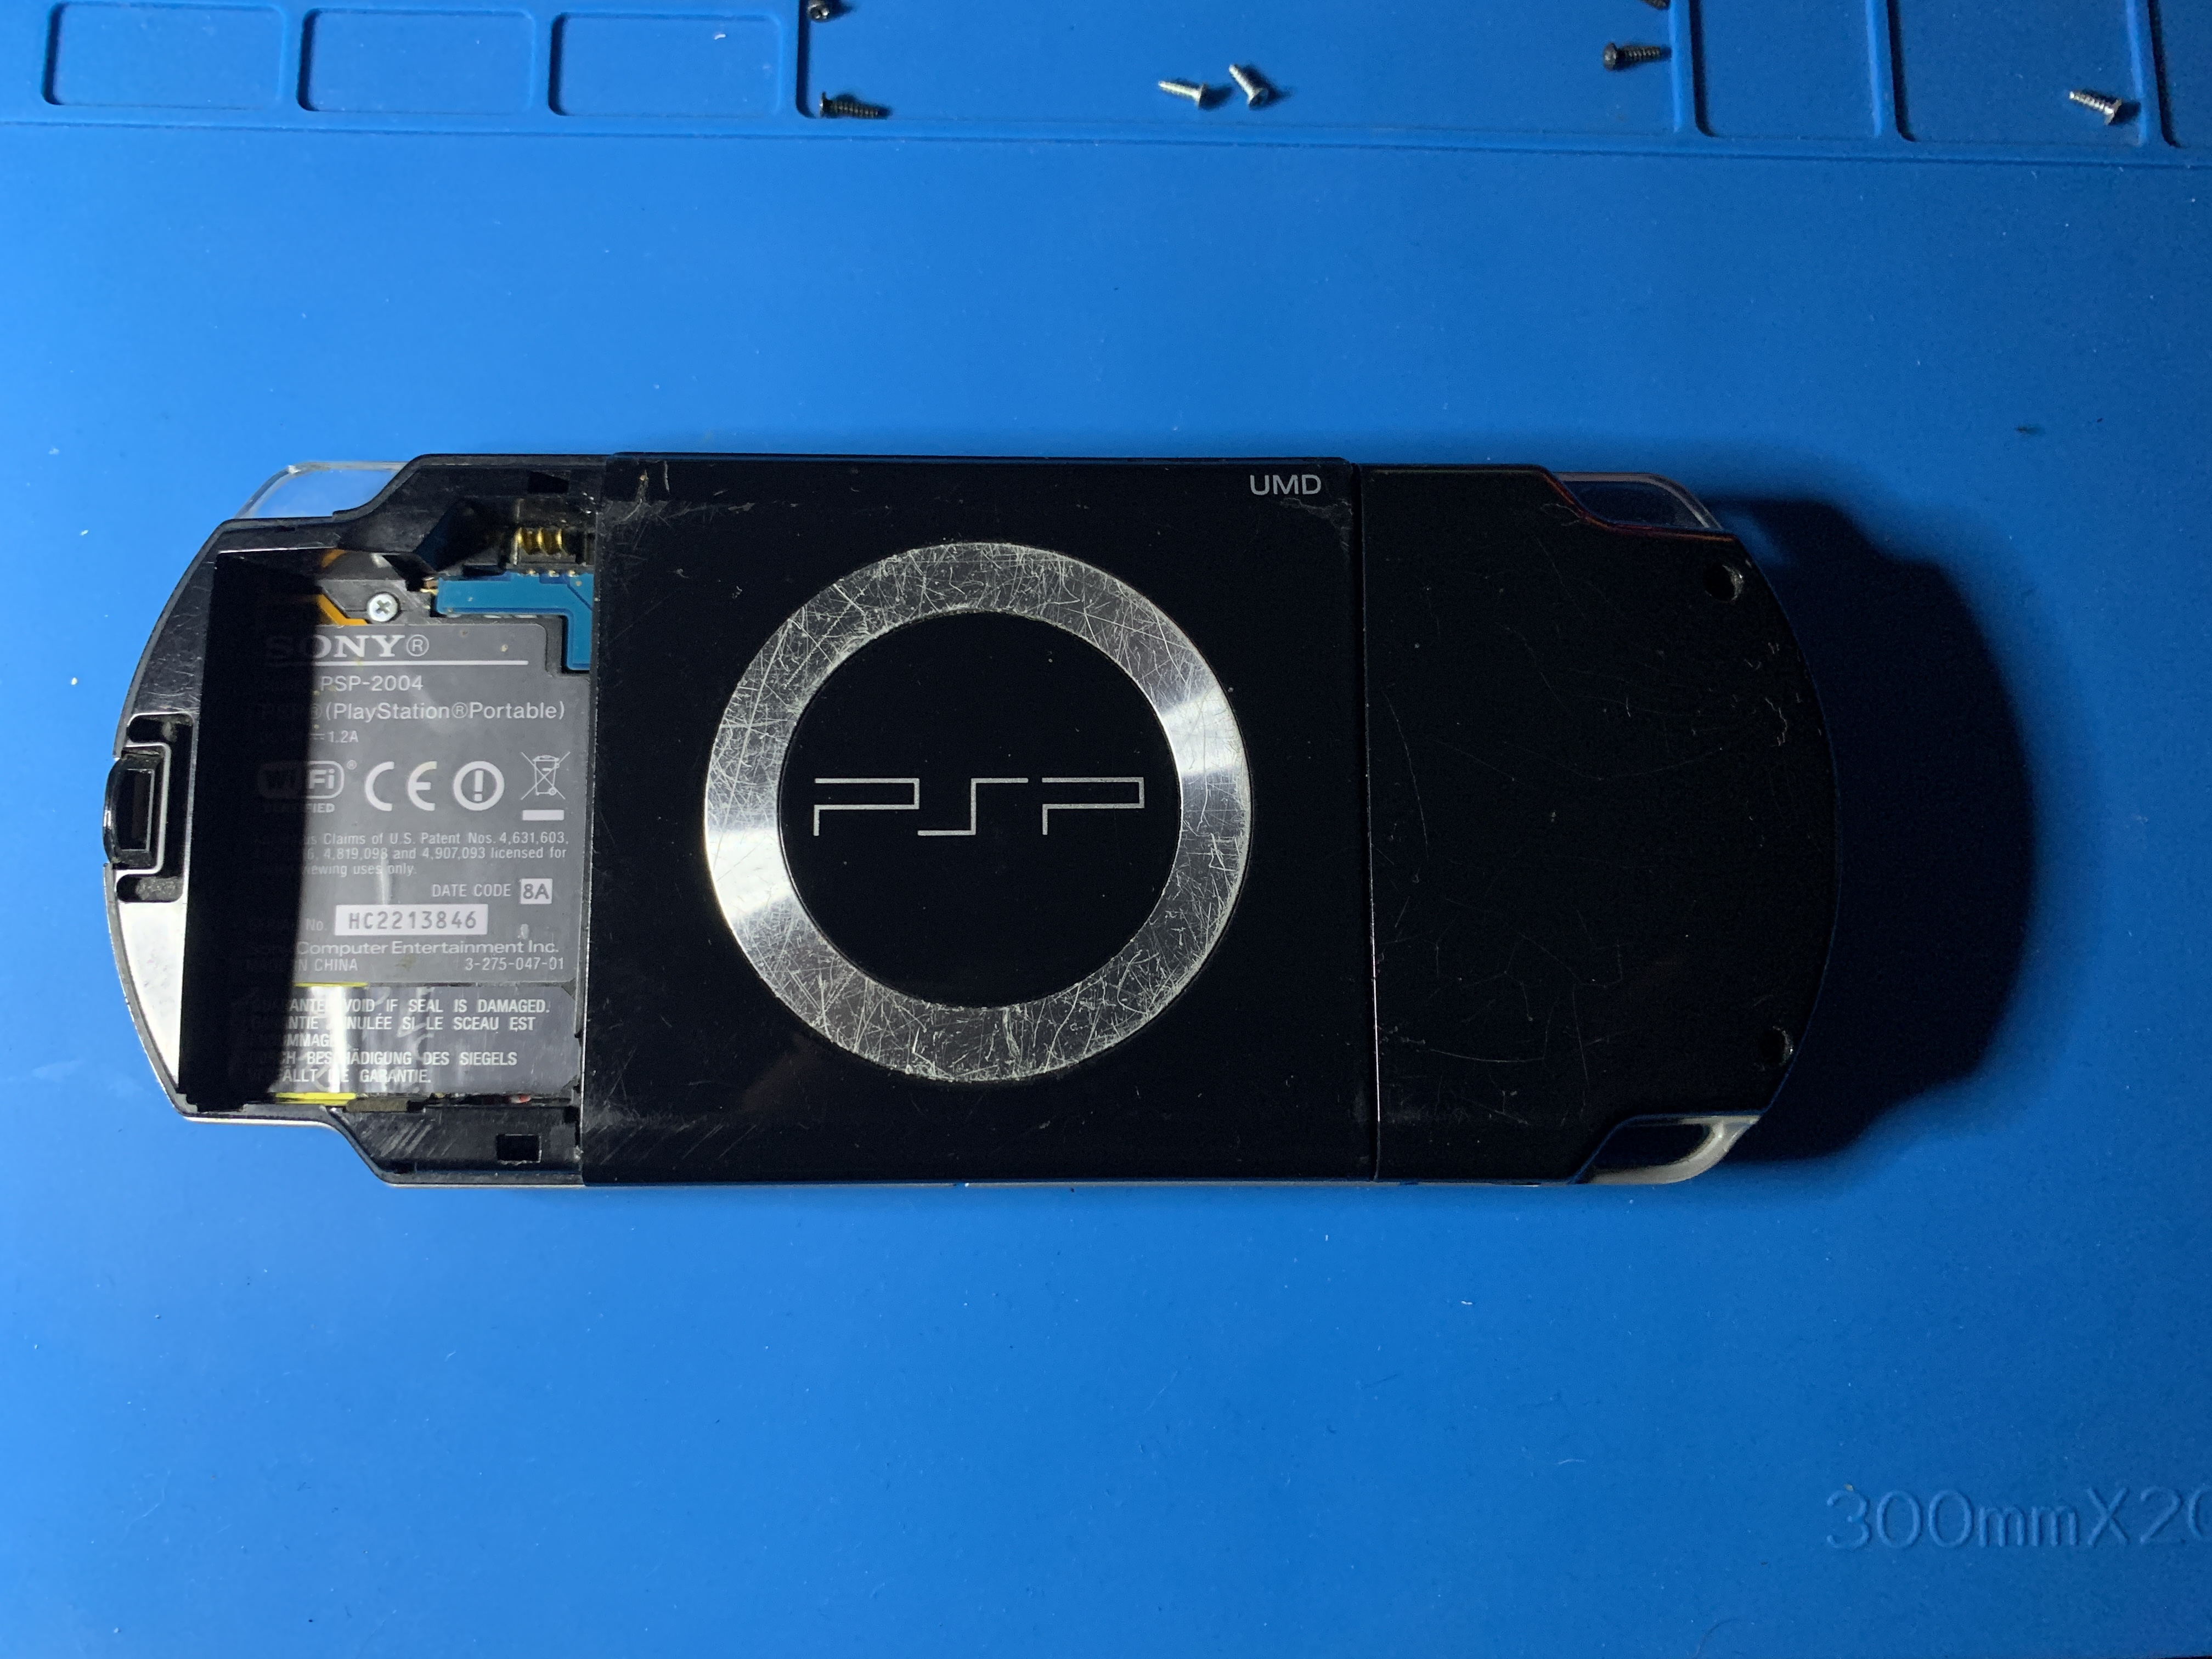
First turnover & remove your PSP battery.
Now remove the screws located on both sides.
Now peel back the lower sticker located in the battery slot to remove the hidden screw as well as the visible screw at the top.
There are also 2 screws located at the top of the device & one at the bottom.

Step 2
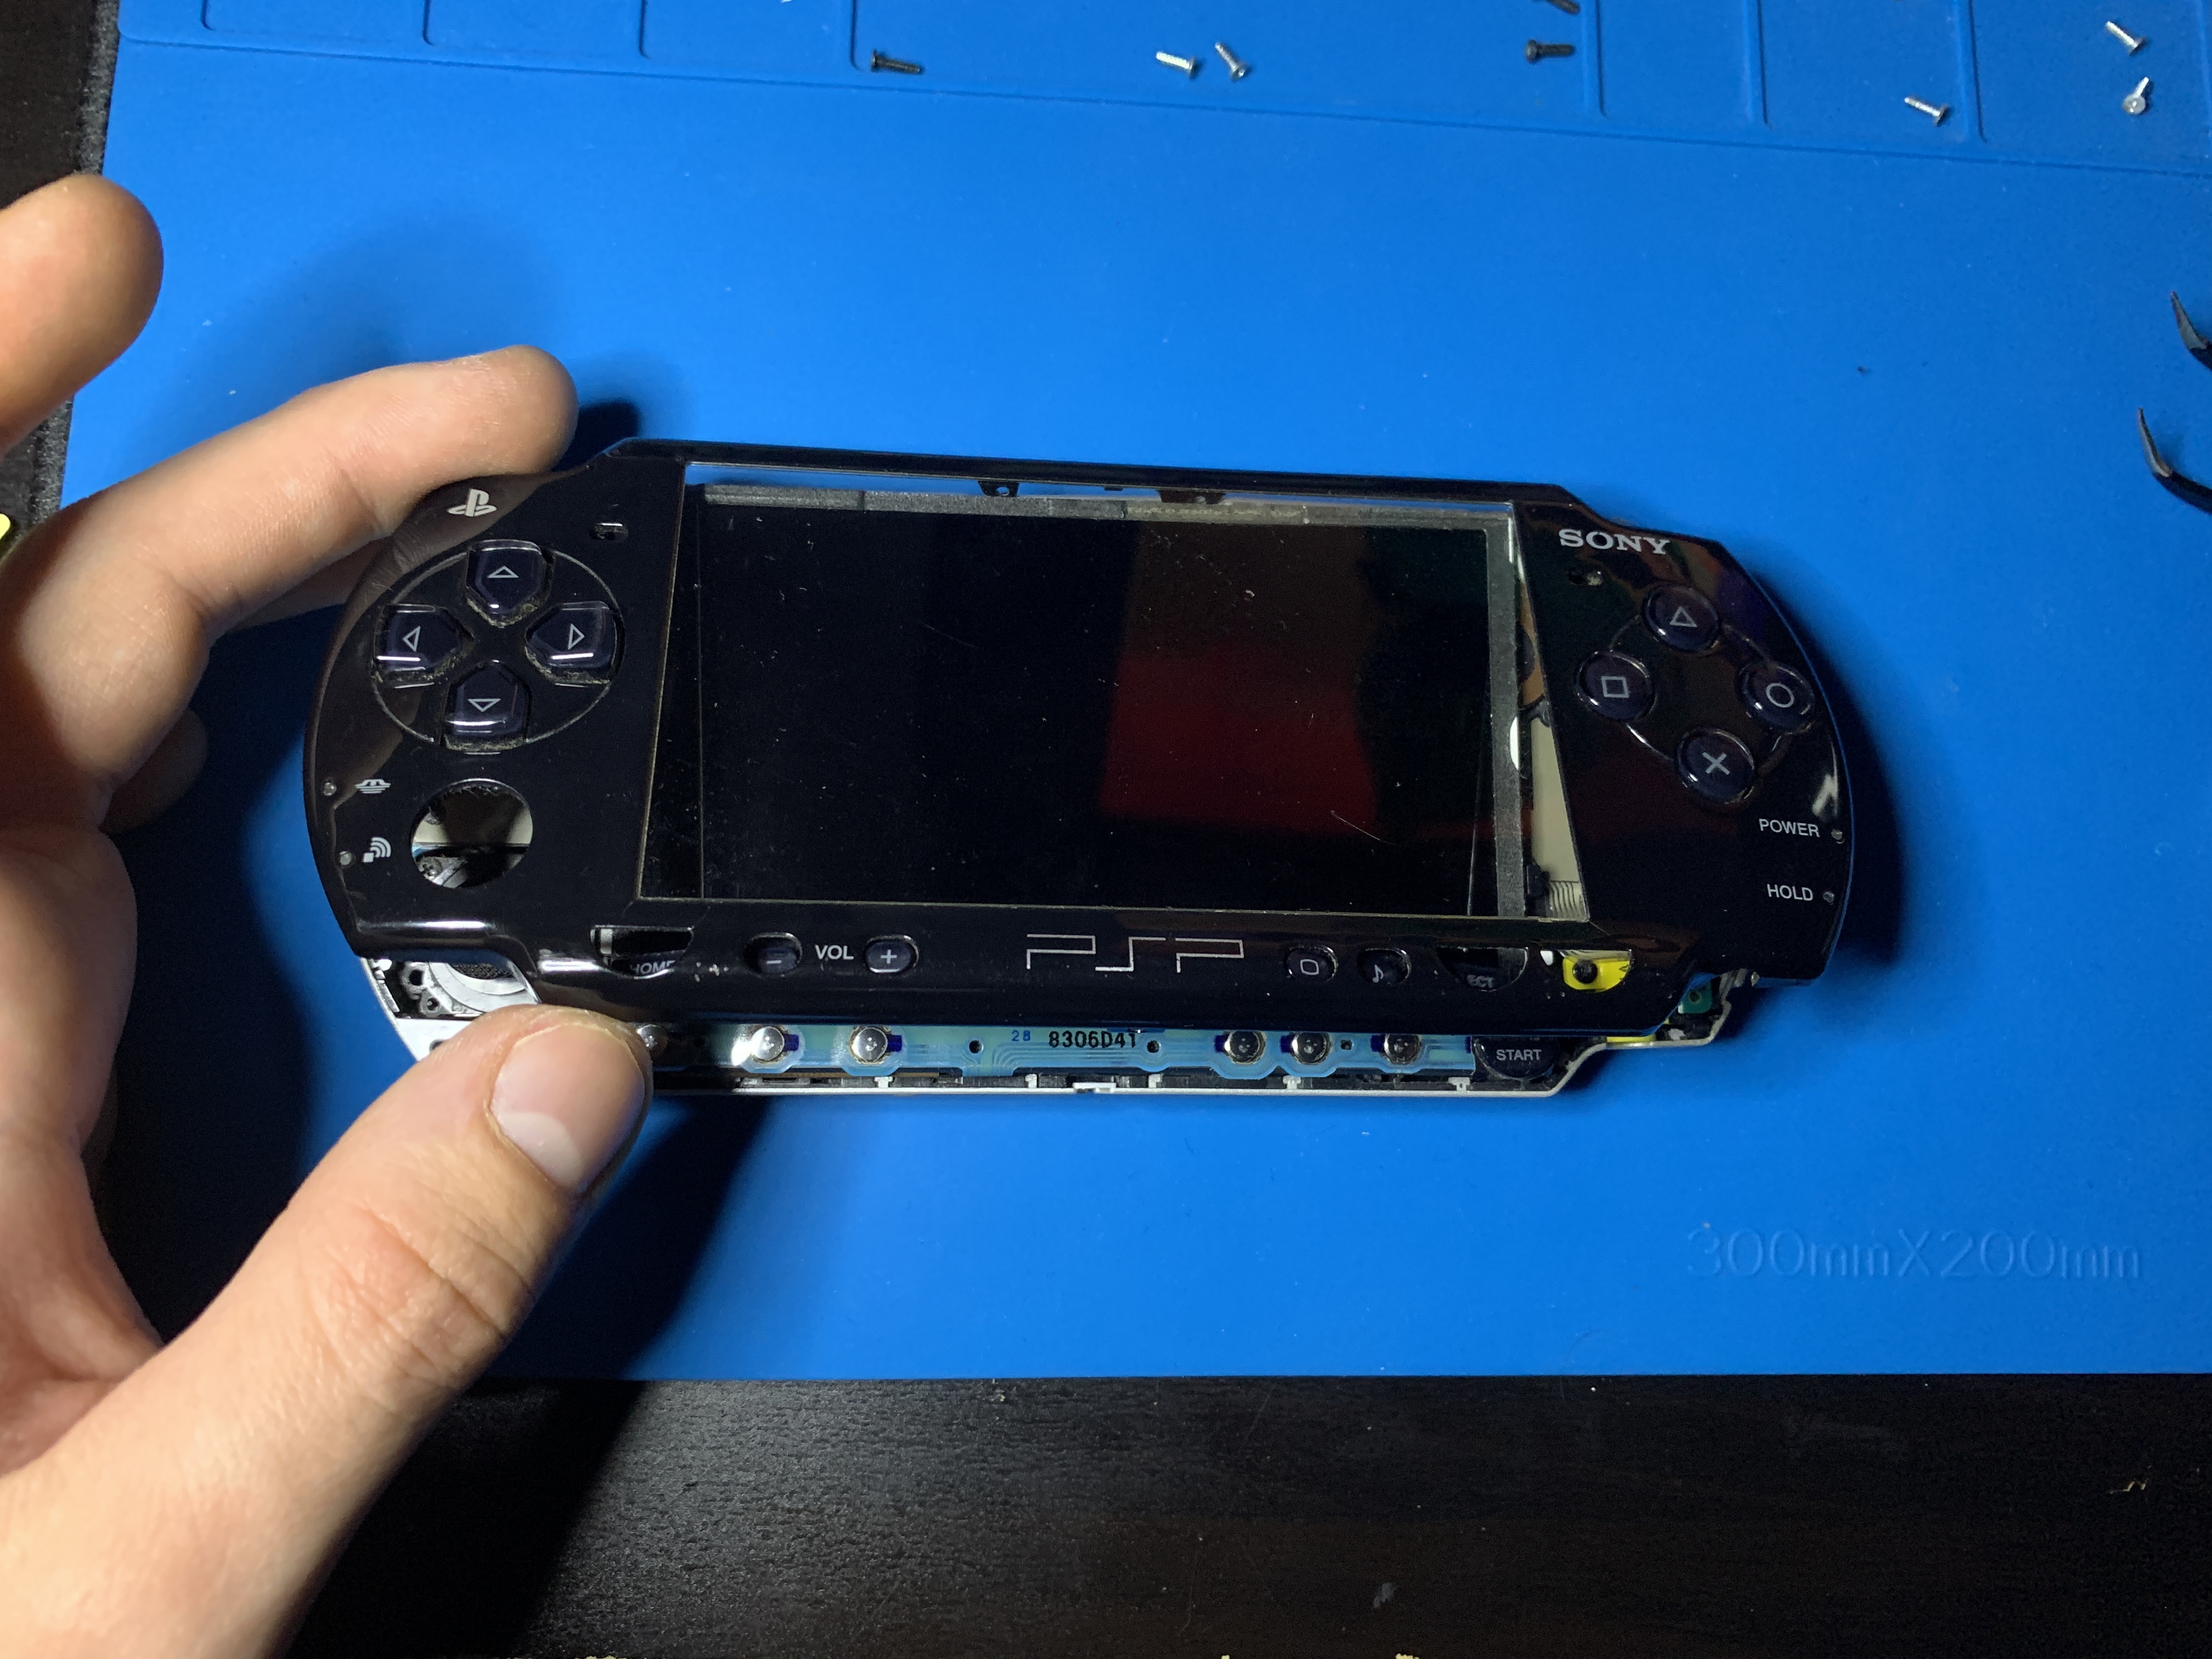
Now turn your PSP over and gently remove the faceplate (front shell) using a plastic pry tool.
You can gently pull up & remove the joystick if it's in your way, or if you'd like to clean it up etc.
Now very carefully pull the front panel buttons flex downward so it's loose.
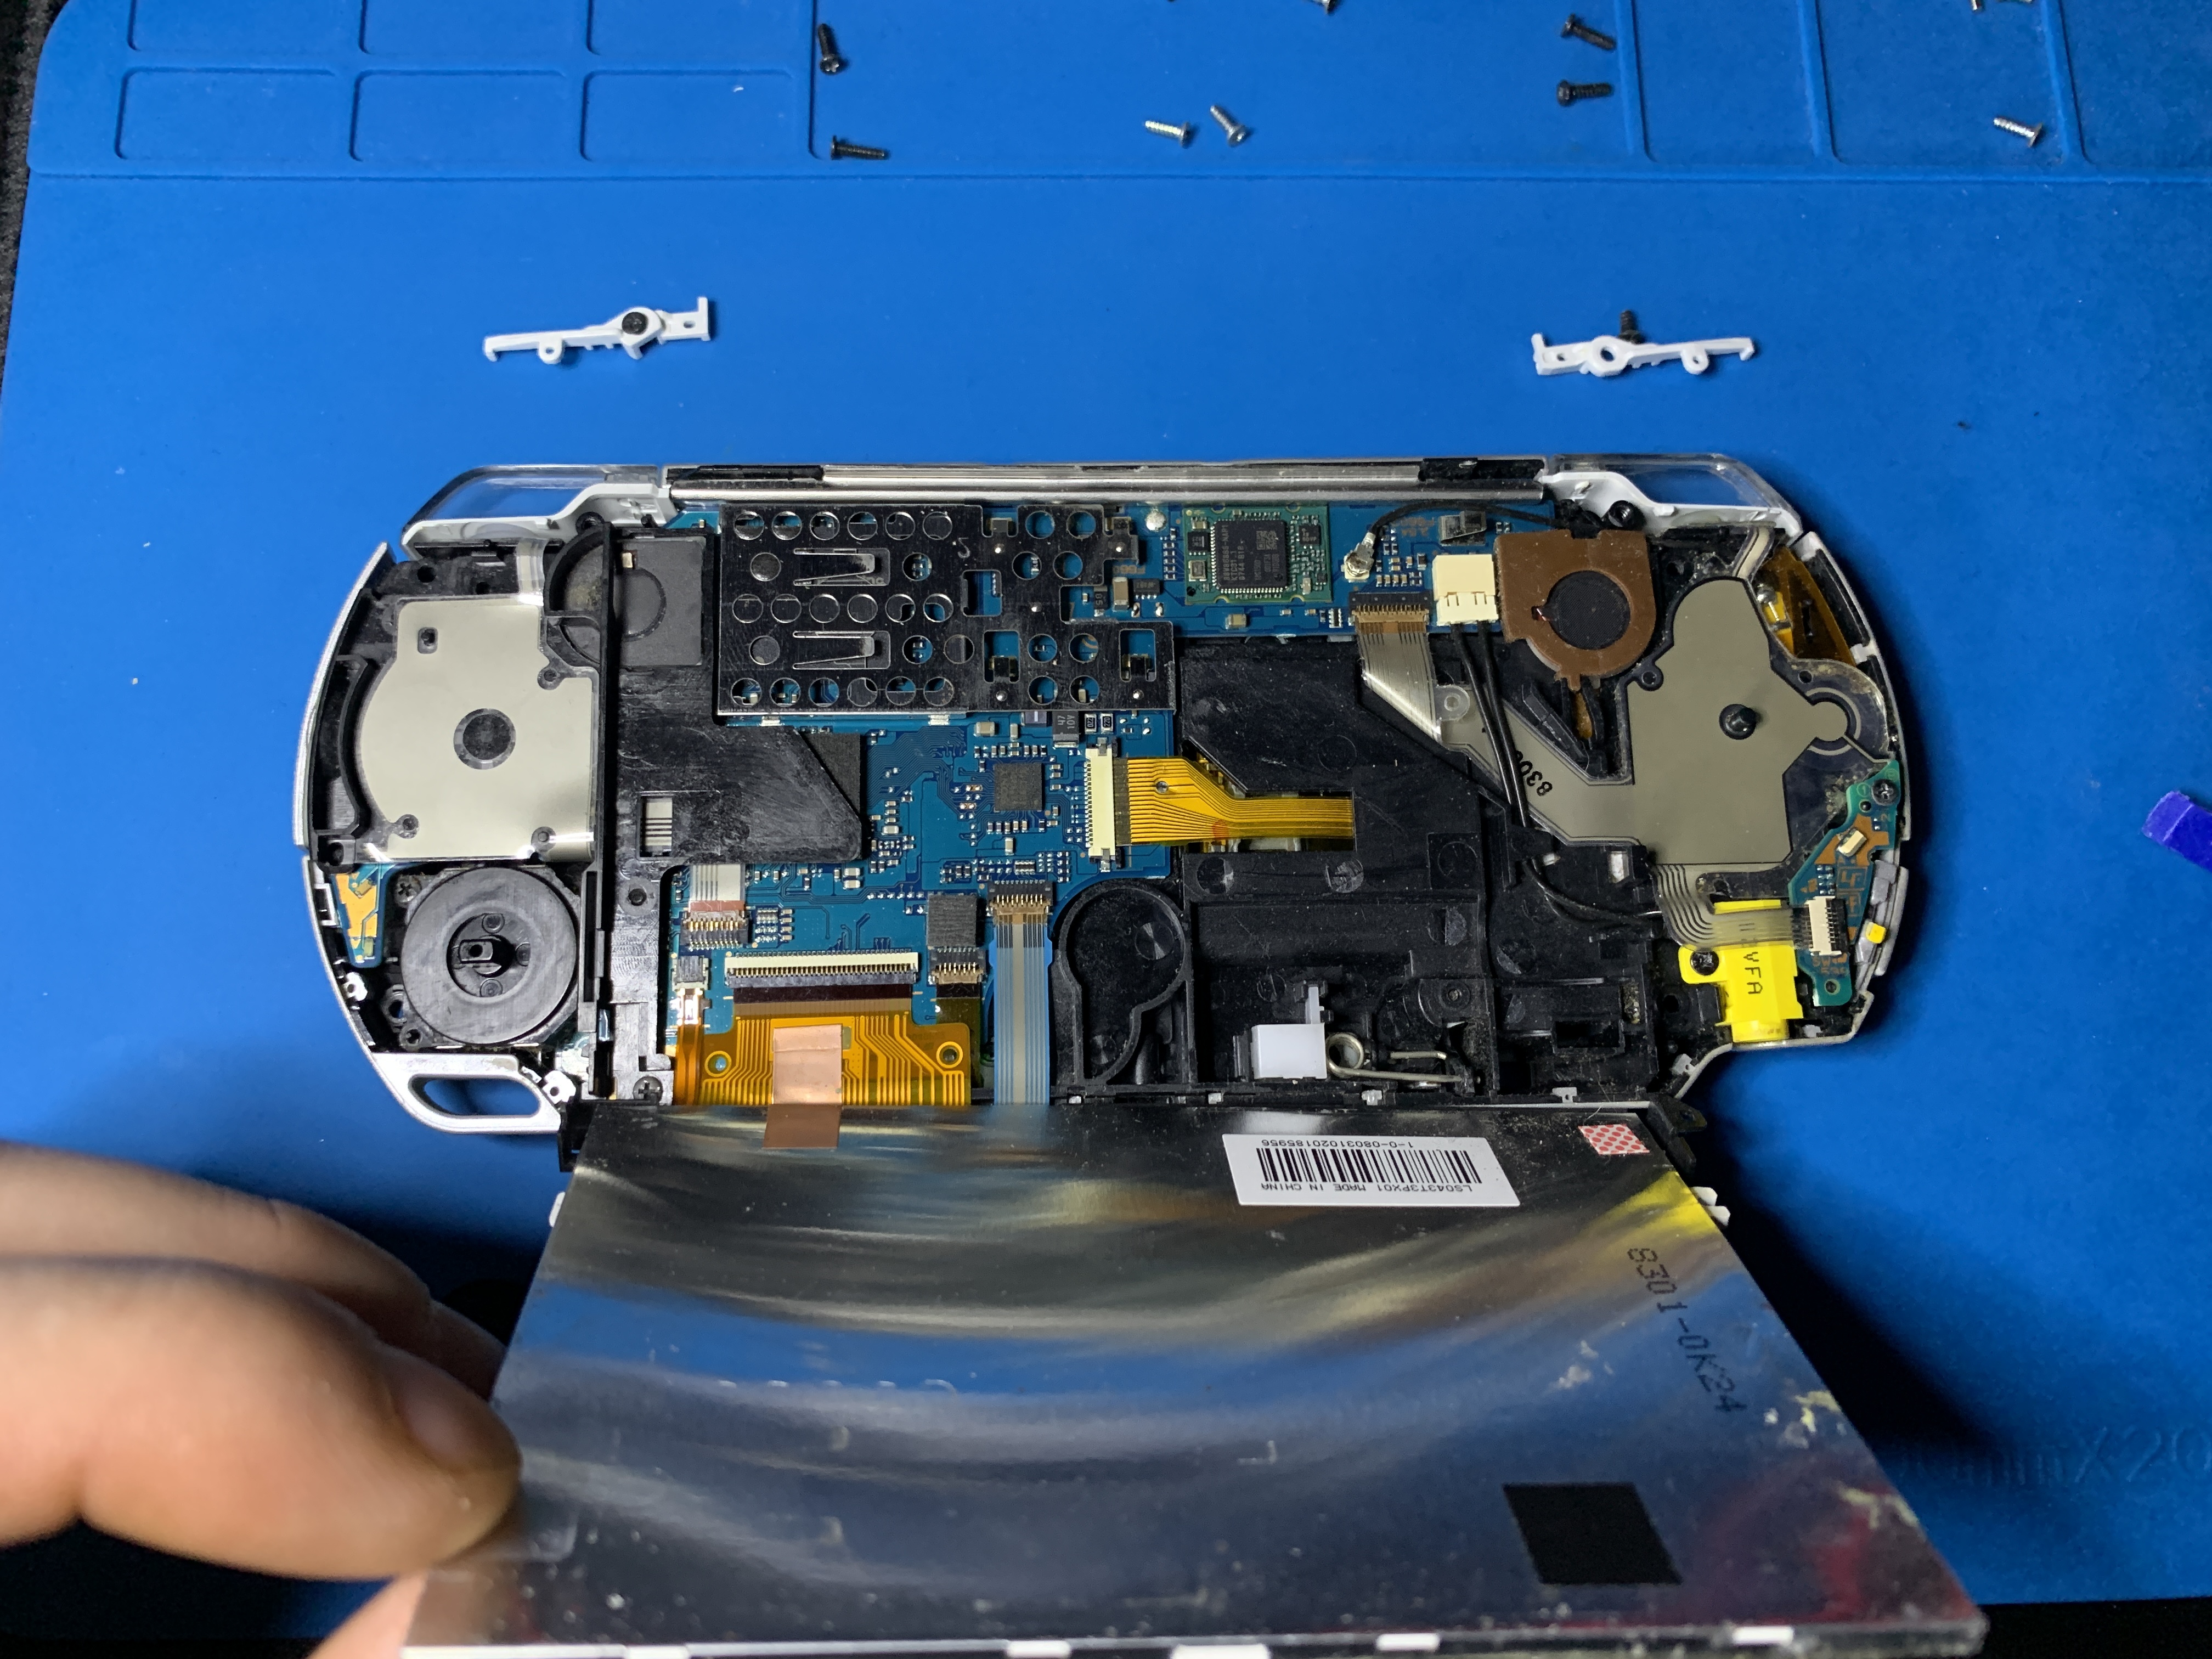
Now unscrew the 2 plastic mounts at the top that are holding the triggers in place. You'll also want to remove the left trigger fully since we are replacing the whole D-Pad flex & the trigger button is part of that flex.

Step 3
Now very carefully lift up the LCD from the top, if your struggling to lift the screen - try lifting where the white plastic clip is on the bottom-right of the LCD (See images on previous step). Also, be careful not to damage any ribbon cables when lifting the LCD as they can be delicate.
Now carefully lift the tab for the D-Pad ribbon cable and disconnect it.
Now unscrew the single screw located in the bottom-left corner, this screw holds the plastic in place for the whole D-Pad.
You can now remove the D-Pad plastic + flex & install the new flex, make sure to peel the yellow adhesive from the back of the new flex so you can stick it in place correctly. Once you've replaced the flex you can go ahead & put everything back together!
