Guides
How To Install Custom Firmware (CFW) on a PSP


Intro
In this guide I will show you how to setup & install custom firmware on a PSP
Step 1
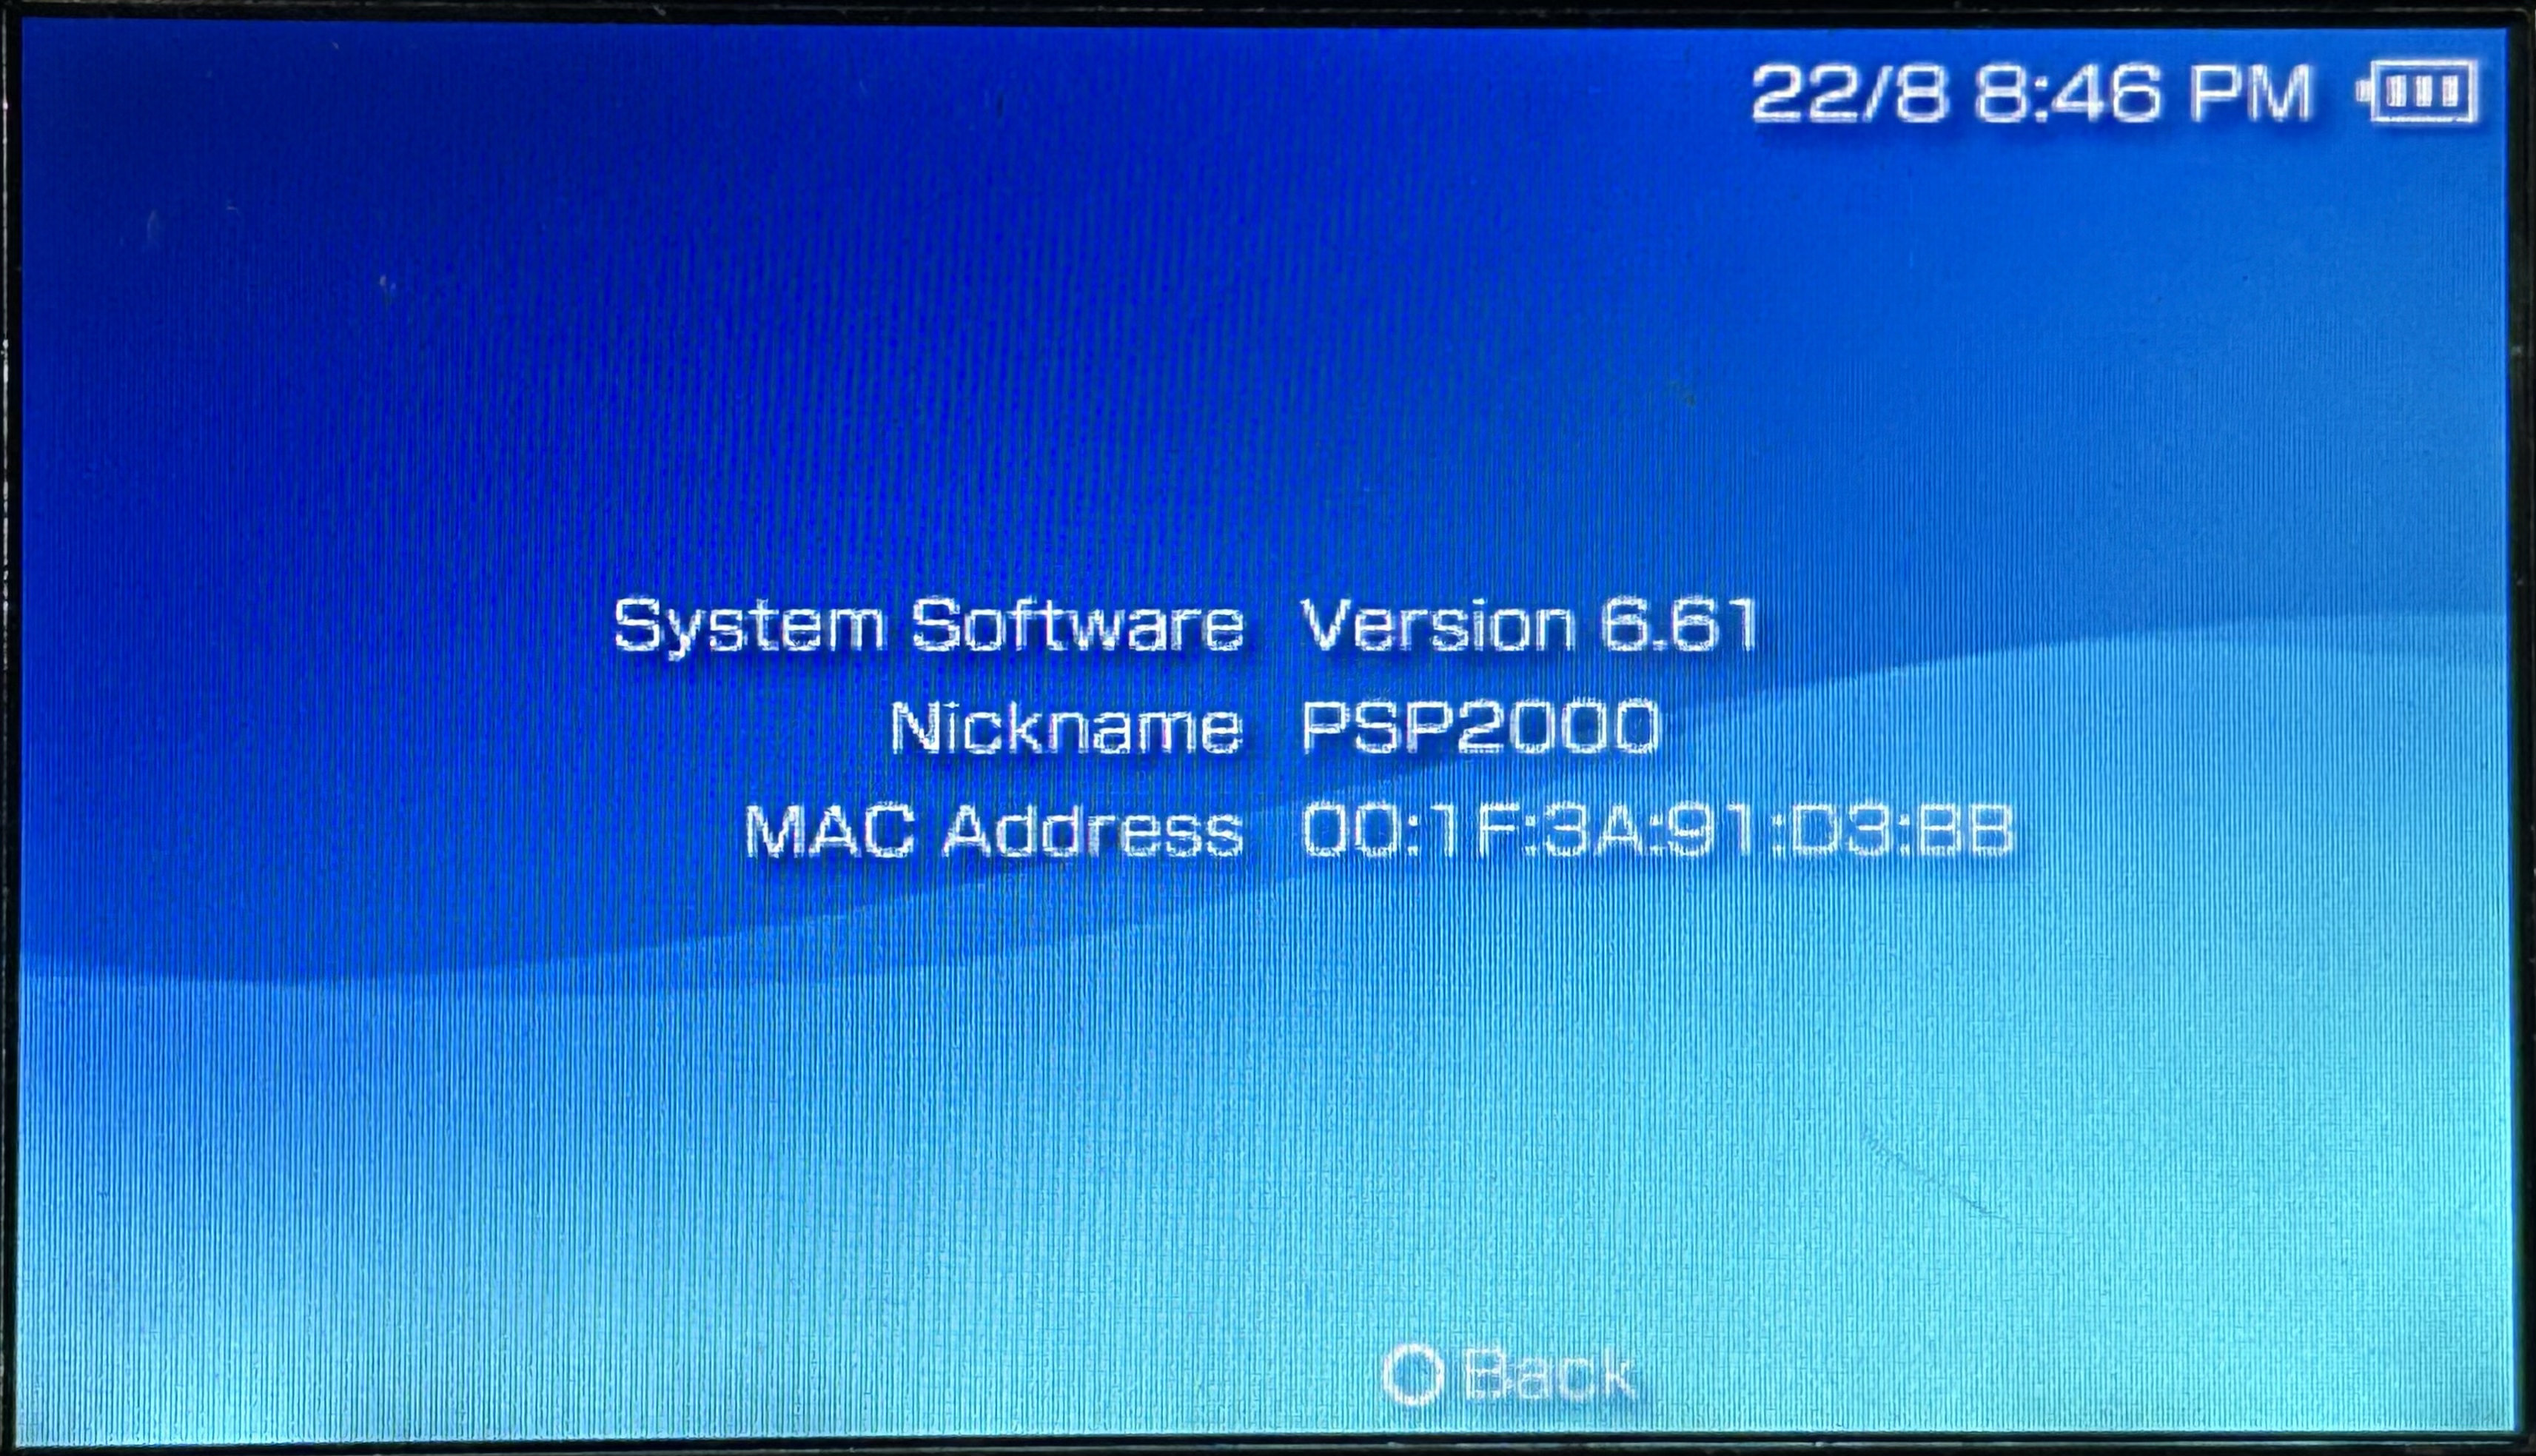
The first thing we need to do is ensure our PSP is updated to the latest firmware (6.61)

Step 2
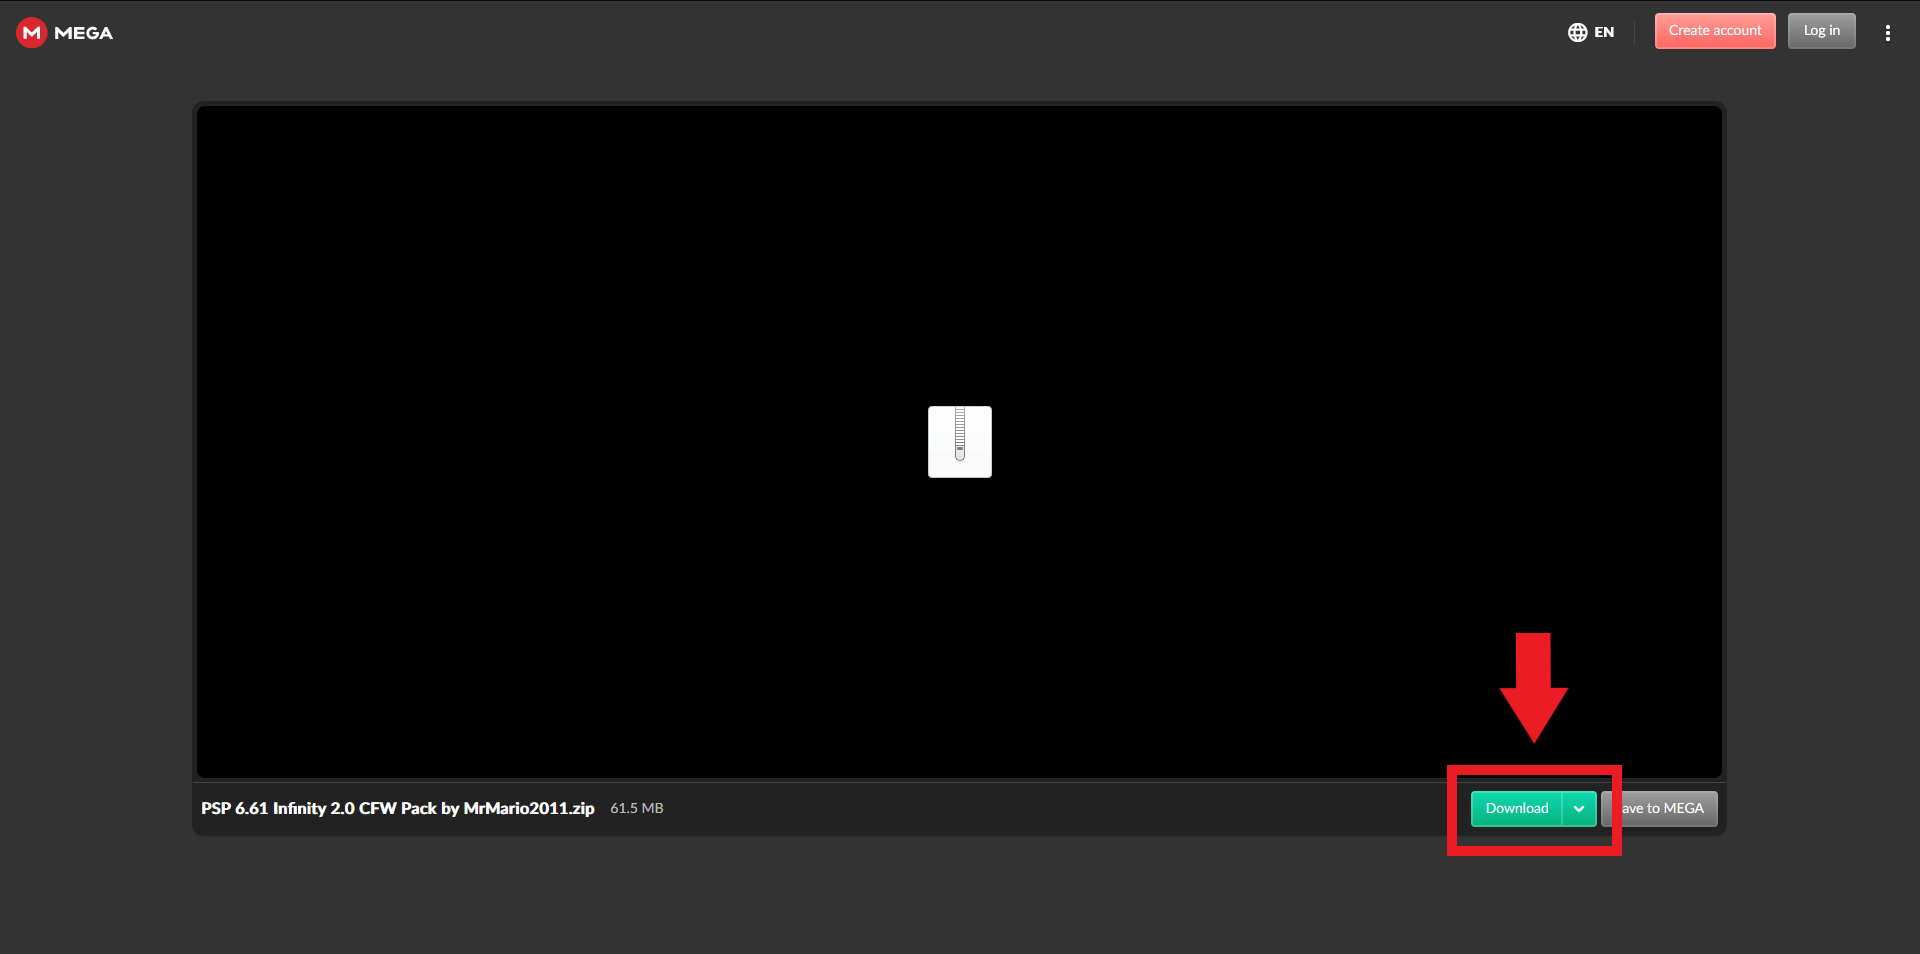
Now we need to plug our PSP into our PC via the PSP USB cable & download Infinity 2.0.3 + the Custom Firmware, you can get the download here

Step 3
Once we have everything ready we can go ahead and begin the installation to our PSP
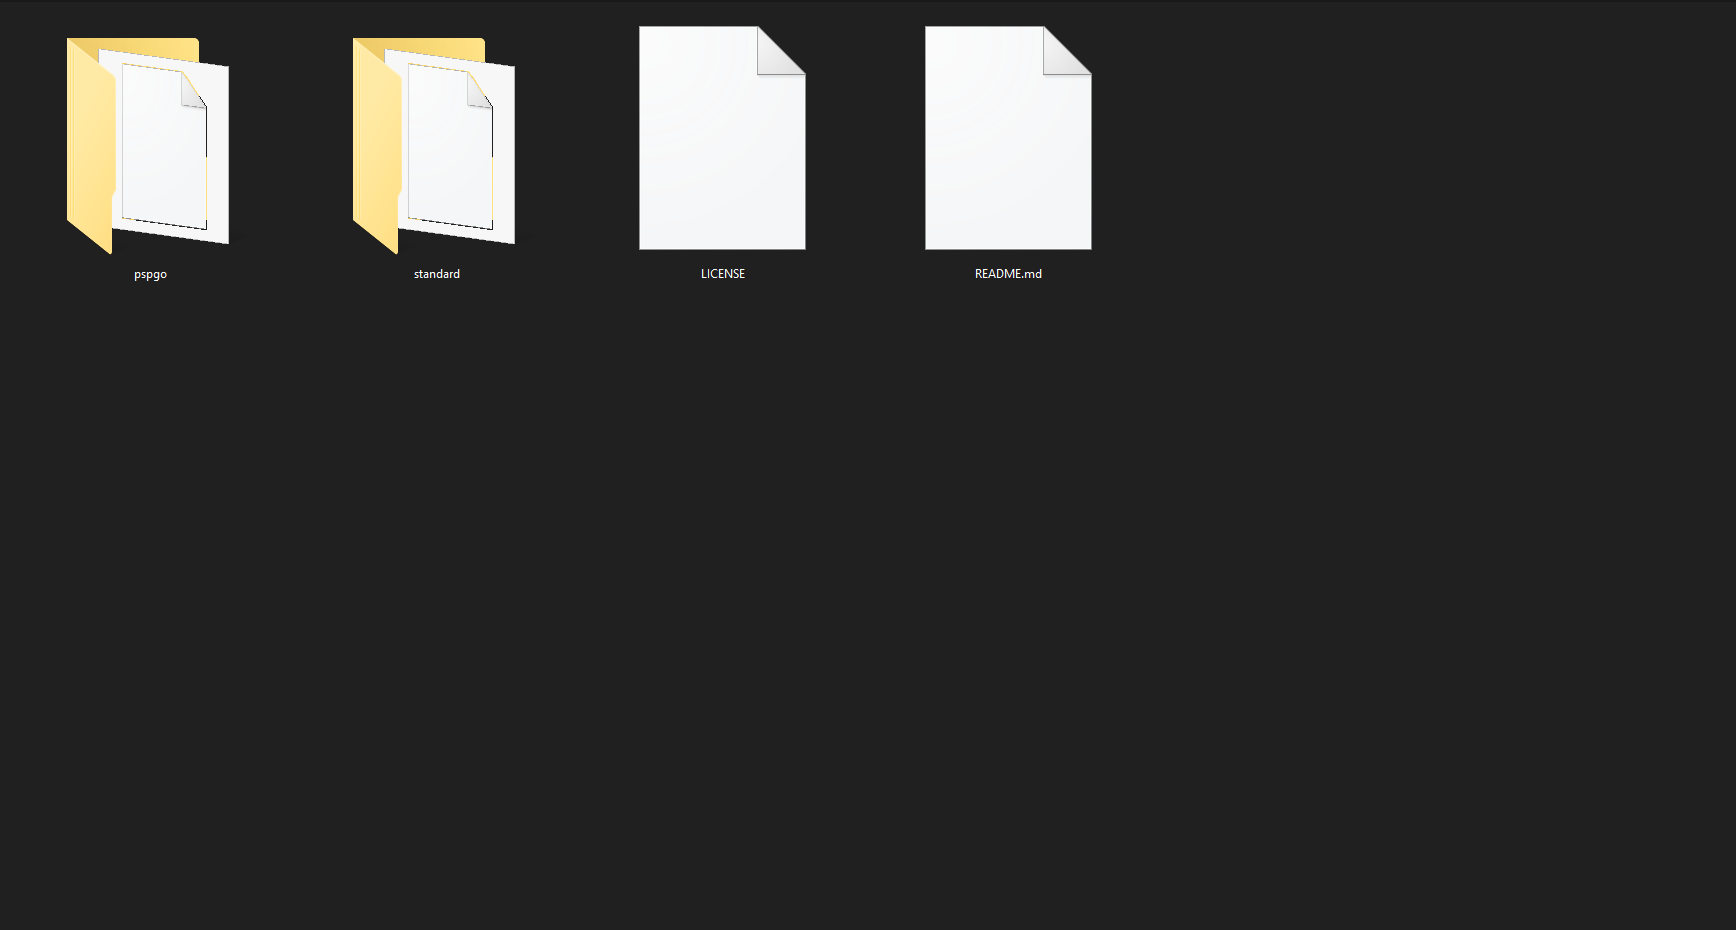
So first lets extract & open the PSP 6.61 Infinity 2.0 CFW folder we just downloaded, you should see a folder inside named infinity-2.0.3 & inside this folder you should have 2 folders, one labelled pspgo & the other standard, the standard folder contains the EBOOT.PBP which you would use if you have a PSP 1000, 2000 or 3000, & of course if you have a PSP Go you would use the EBOOT.PBP in the pspgo folder.
Now we need to plug our PSP into a computer and open the file directory for the PSP (either in My PC or My Computer). You should see all the folders inside including the PSP folder which contains the UPDATE folder (if this folder doesnt exist just create it), now all we need to do is copy over the EBOOT.PBP into the UPDATE folder
Now go back to the PSP 6.61 Infinity 2.0 CFW folder and go into the CFW folder, you should see 2 folders, one called 6.61 LME 2.3 & the other 6.61 PRO-C2, it doesn't really matter which one you select they are just slightly different to install, if you want to use the LME version you can access the 6.61 LME 2.3 folder and copy the inferno, leda, PSP & translate folders into the root of your PSP, if you select the PRO-C2 version, all you need to do is copy the 2 folders (PSP & seplugins) into the root of your PSP.

Step 4
So now you have all the files/folders in place & you can safely eject your PSP
Now we can go on our PSP, head over to the game section and go into your Memory Stick where your games would normally be stored, you should now see the Infinity application, go ahead and run it, once it loads you should be prompted to "press [X] to install Infinity", once installed you will see another prompt to "press [X] to reboot"
Step 5
Once the PSP has rebooted, you can go into the Memory Stick again and you should see either the "LME Installer for 661" application or the "PRO Update" application depending on what version you went with, Now launch the relevant application, wait for the console to appear and press [X] to install, if you selected "LME" version then the device will automatically reboot after several seconds but if you selected "PRO-C" then you'll have to press [X] again to reboot
Step 6
So once the PSP has rebooted, we need to go into our Memory Stick & run the Infinity application one last time, once open, press Left on Dpad and select the version you have installed, so if you selected "PRO-C" you would select "PRO CFW by Coldbird" & if you selected "LME" you would select the "ME CFW by neur0n", once you have selected the correct version you will see an Asterisk (*) next to it
Now press Right on Dpad, then press the PSP Home button & press [X] to exit, Now the PSP should reboot automatically
To test that our Custom Firmware is installed correctly lets hold the power button until the PSP turns off fully, once turned off, turn back on and scroll right to the PSP System Settings, then "System Information" you should see the software version as something like "6.61 PRO-C" or "6.61 LME"
You can also press the [select] button on the PSP which should bring up the VSH Menu.
Outro
Congratulations! You are now running Custom Firmware on your PSP!
If your not planning on un-modding your PSP, You can go ahead and delete the Infinity & Custom Firmware applications from your Memory Stick.
If you enjoyed this guide and found it useful, you could share it on social media or give me a follow on Twitter! @GuideGuruNet
Donate Here