Guides
How To Install Custom Firmware (CFW) on a PSVita (2022)

Intro
In this guide I will show you how to setup & install custom firmware on your PSVita, how to setup a Micro SD Card as your main storage, how to continue using your Games/Apps previously purchased from the PS Store & how to setup some applications/plugins.
If you are modding a PSVita 1000 Model, you will need an original PSVita Memory Card to install the Custom Firmware(CFW), once the CFW has been installed you can then use any micro SD (i.e SanDisk)
If you are using a PSVita 2000 Model, you don't have to worry about this since it already has built-in storage.
Getting Started
Step 1
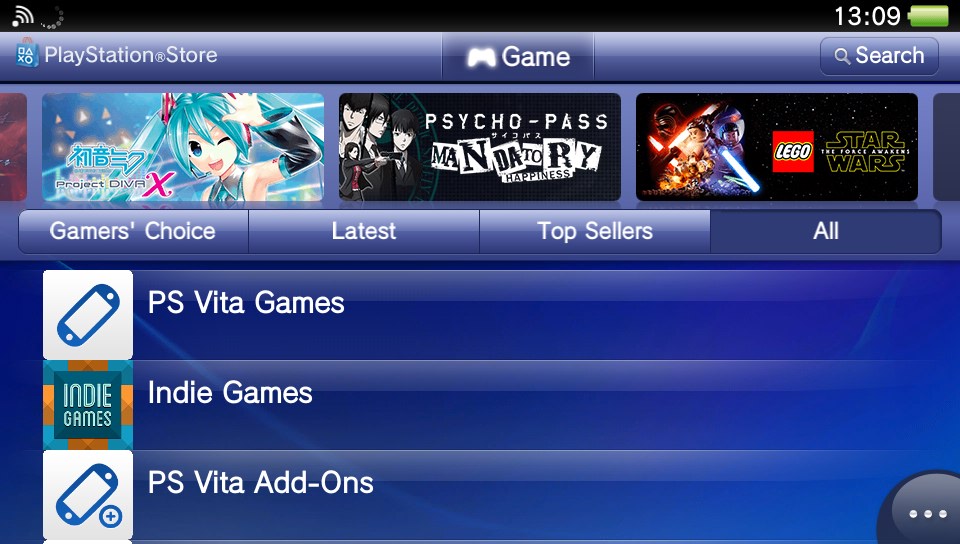
First, we should sign in to the PS Store on our PSVita, incase we want to download other games after & receive trophies etc.
Also, now is a good time to check your software version, to do this, go to Settings > System > System Information, this shows the System Software (i.e. 3.74).
If you are using a 1000 Model Vita, you should insert your Official Sony PSVita Memory Card now, this will reboot your console & format the Memory Card. You can check in System Information in Settings to see if your Memory Card is being detected.
Step 2
Next, we need to download the required files.
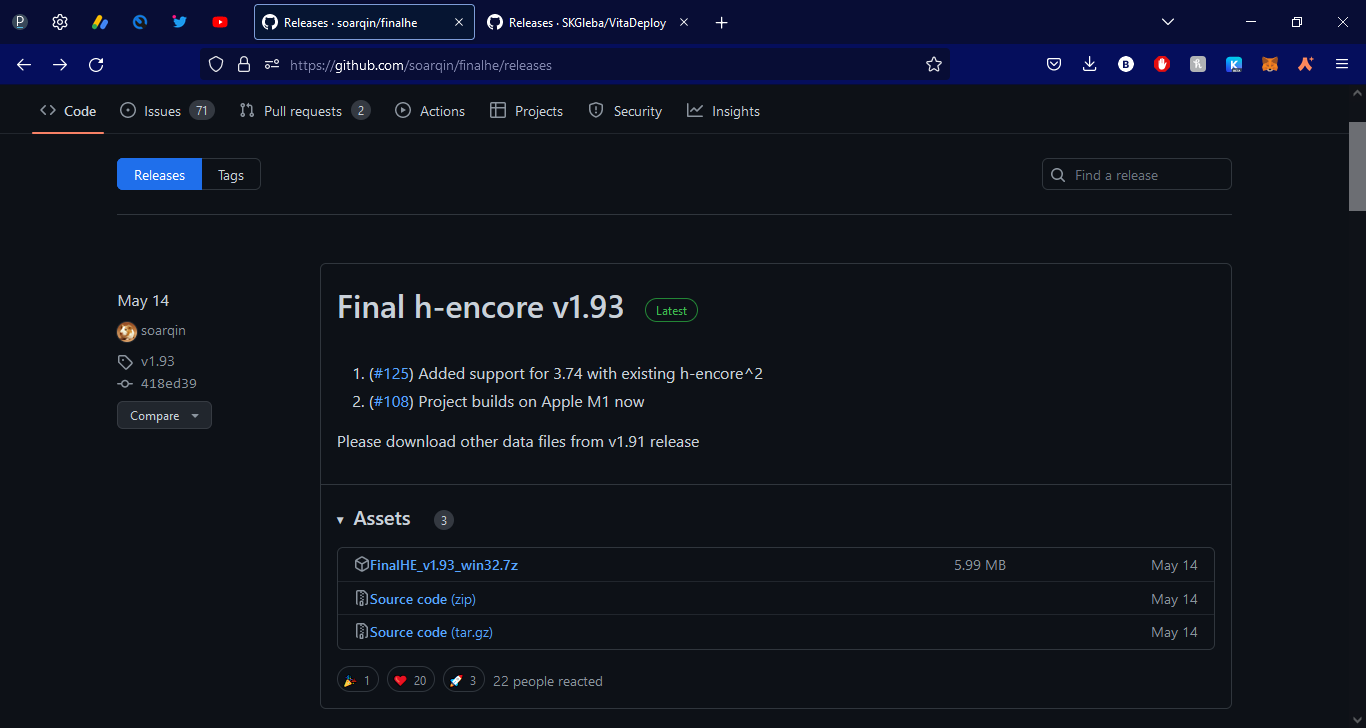
Headover to the FinalHE Latest Releases on Github & download the FinalHE_v1.93_win32.7z.
Now go to the VitaDeploy Latest Releases on Github & select the Vita-Deploy-FHE.zip download.
Finally, download the QcmaDriver_winusb.exe for the PC/Vita drivers to ensure we can connect to our PSVita without any errors later on. Once downloaded run the setup & install the drivers.
Step 3
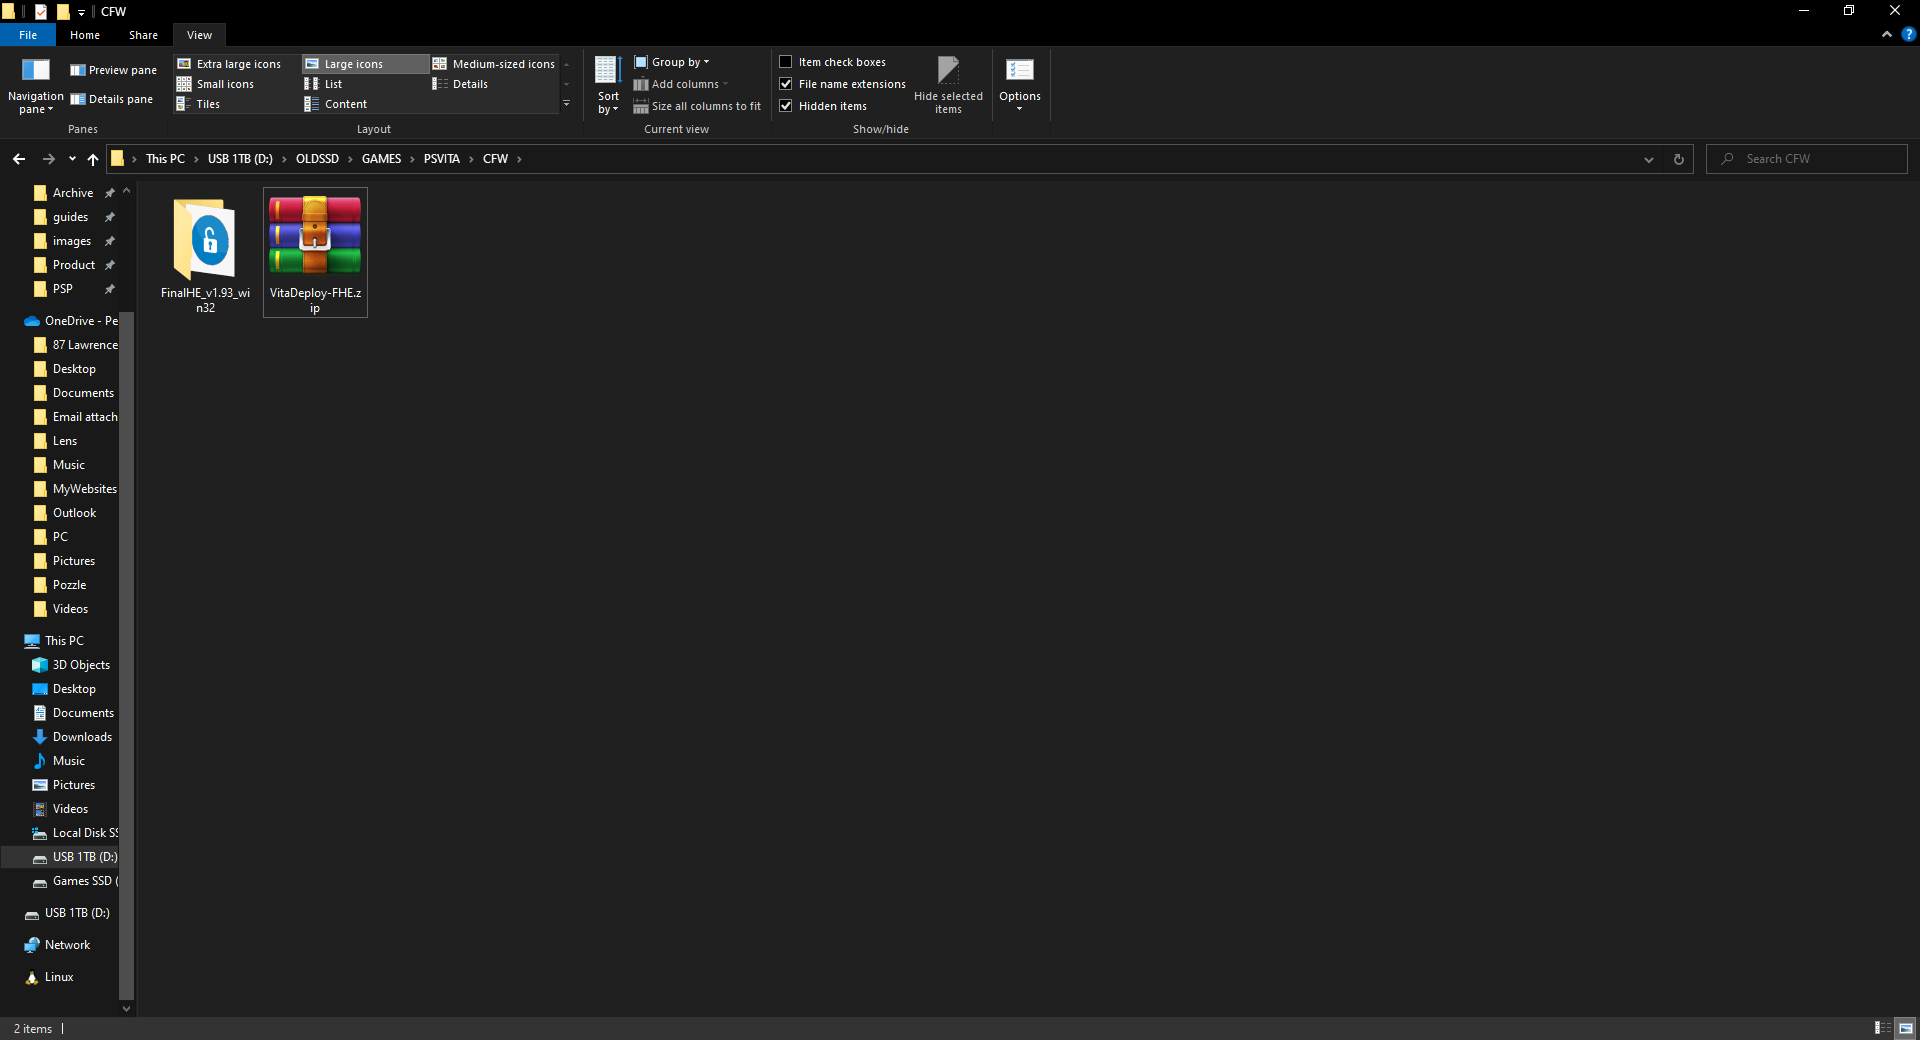
Now we need to extract the FinalHE zip, leave the vitadeploy as a zip folder but place it inside the FinalHE folder so that it is with the FinalHE.exe.
Installing CFW
Step 4
Once we have everything ready we can go ahead and begin the installation to our PSVita.
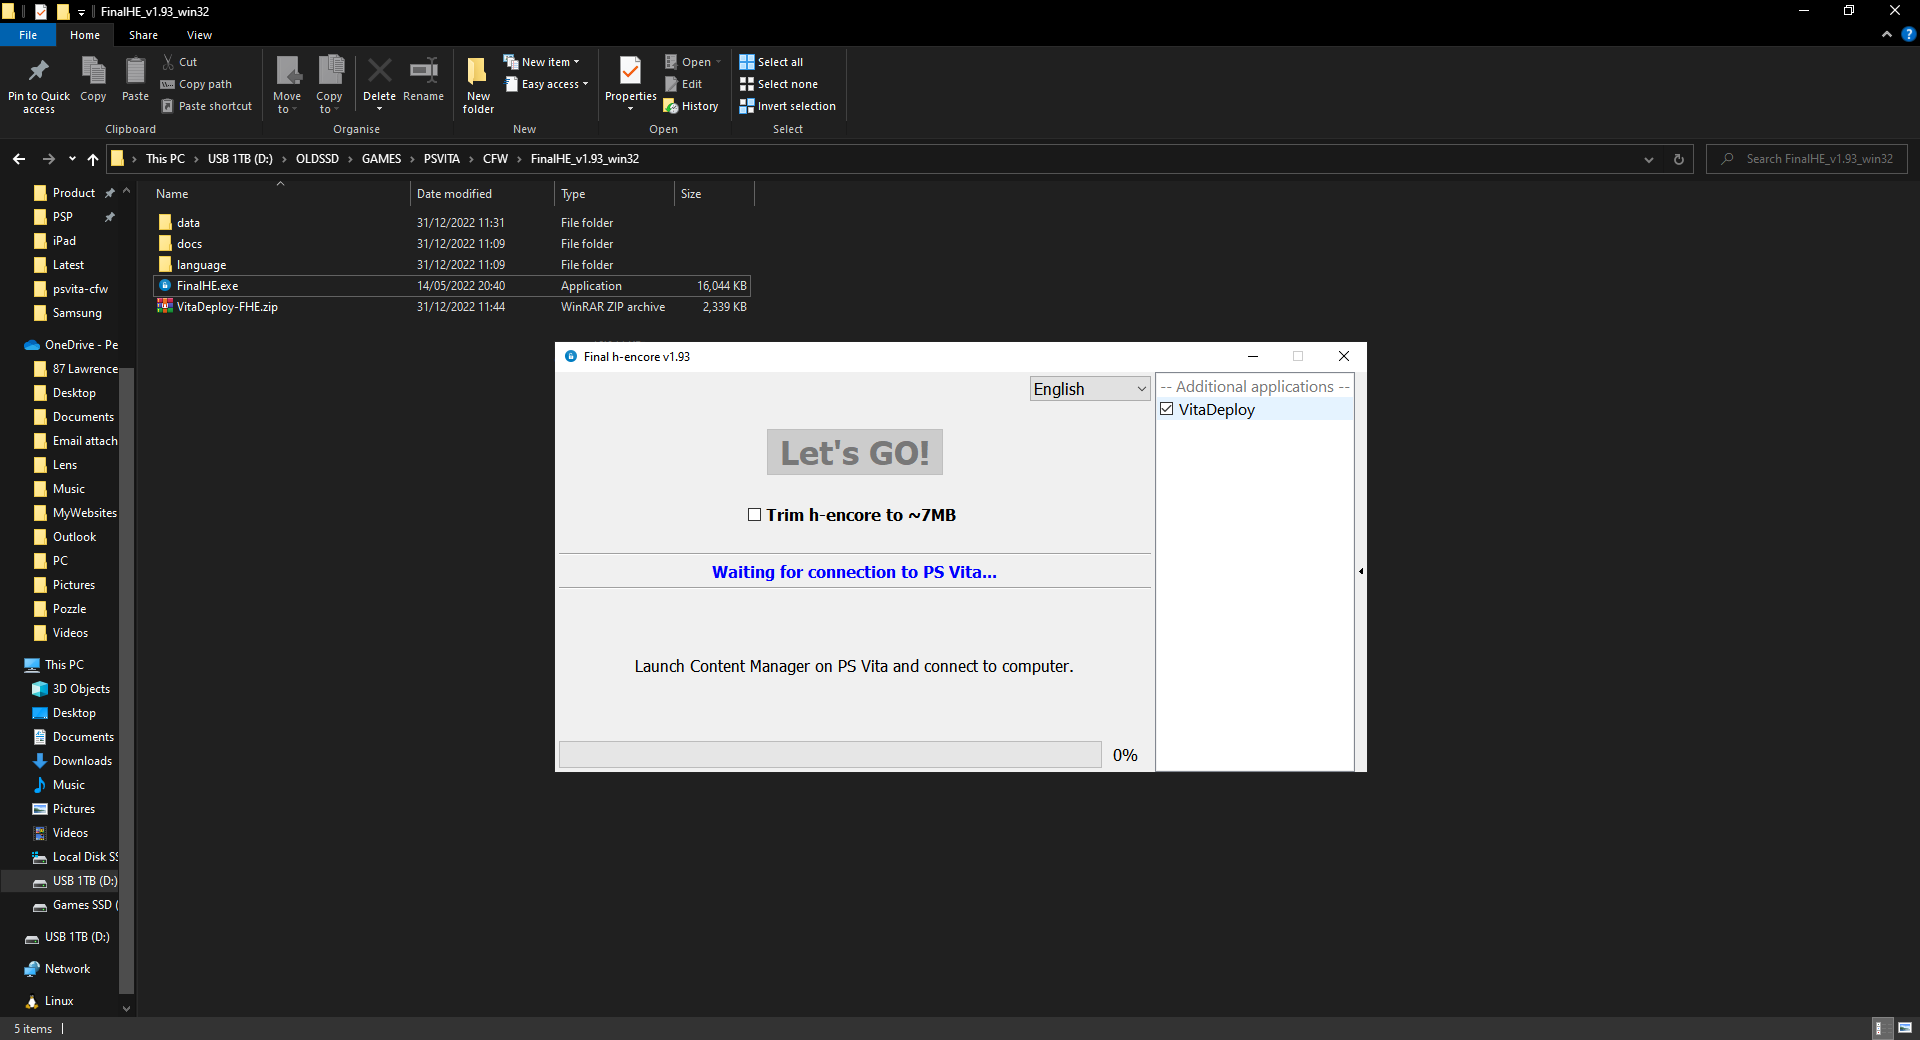
So lets run the FinalHE.exe from our extracted folder.
Select the arrow on the right-hand side to bring out the additional applications list, select the VitaDeploy checkbox & plug your PSVita into your PC, wait for it to be detected & hit "Lets Go".
Step 5
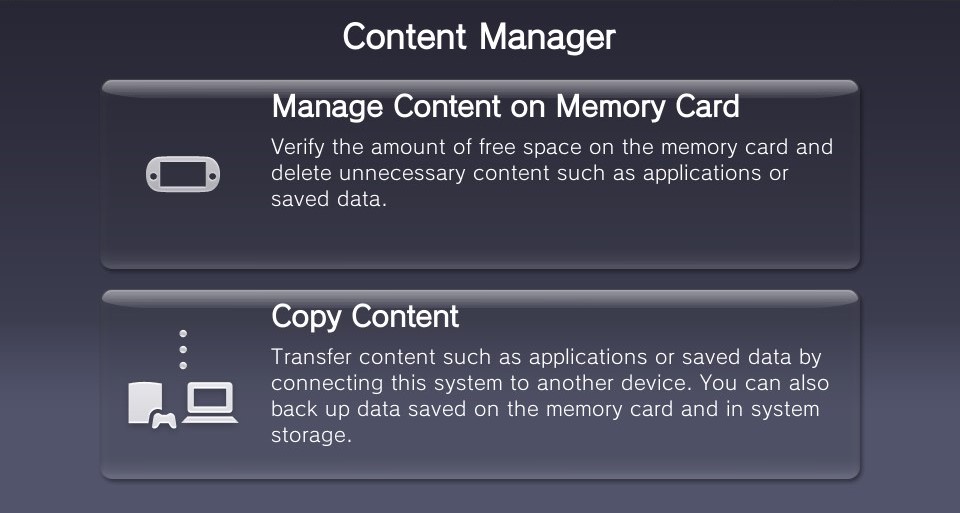
Now open the Content Manager application & select Copy Content
Once thats complete you can exit the Content Manager.
Step 6
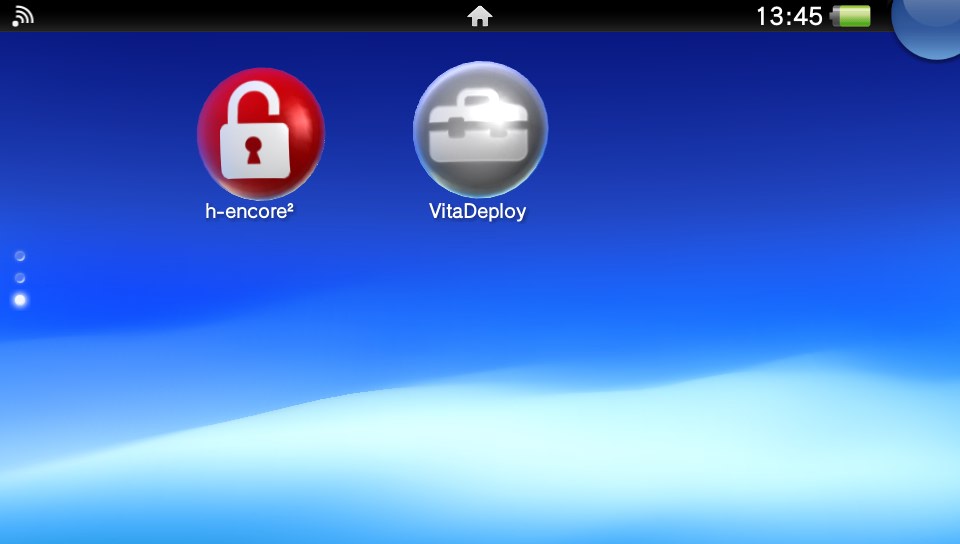
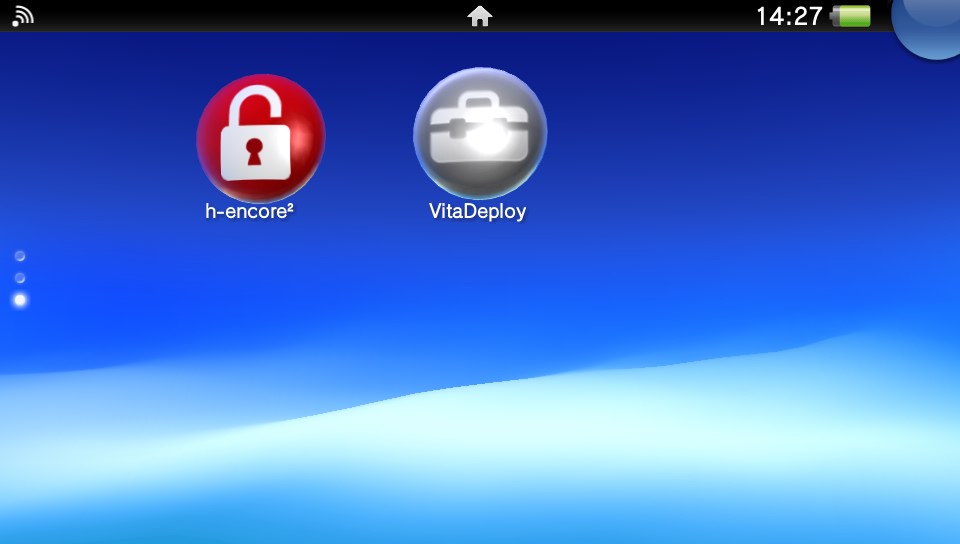
Now when we go back to the homescreen you will see those new applications!
Now, whilst holding the Right Trigger [RT], open the h-encore application, it will give you a warning about trophies just hit "Yes" & continue.
Now just select the "Exit" option.
Go into Settings & you should now see the HENkaku Settings.
In HENkaku Settings, Enable the "Unsafe Homebrew" option & exit Settings.
Step 7
Now open the VitaDeploy application.
Select "Install a different OS", then select "Quick 3.65 Install".
After thats complete it will ask you to confirm the downgrade to firmware 3.65 by pressing [X], then you will have to wait 20 seconds and it will allow you to press [X] again to confirm installation.
Once thats complete your Vita will reboot, Now lets check that we have the custom firmware installed, go to Settings
Setting up a Micro SD Card
Step 8
Now lets get our Micro SD Card up & running (if you have one)!
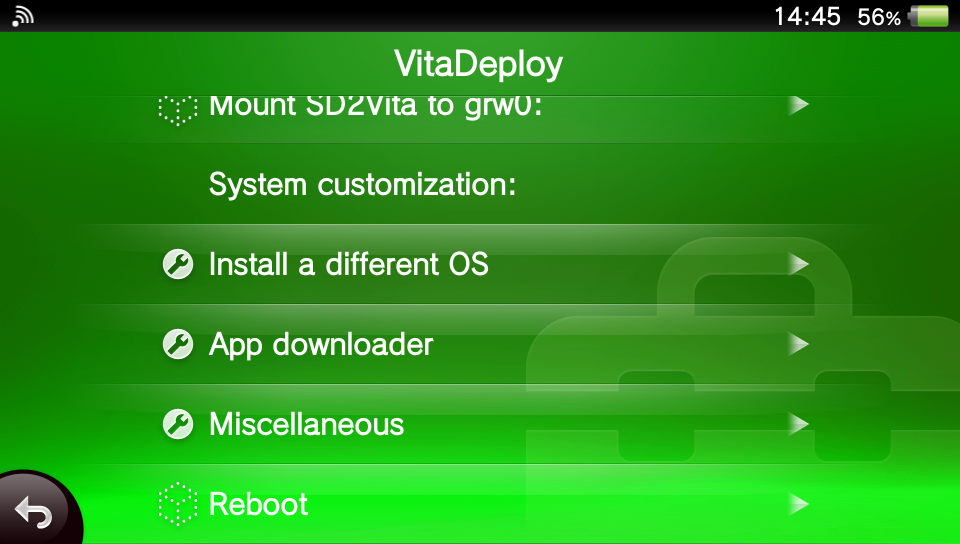
So open up the VitaDeploy application & scroll down to Miscellaneous
Wait for the "Formatted" popup to appear.
Now lets reboot our device, hold your power button & "Power Off" your Vita. Wait a few seconds & turn it back on.
Step 9
Now go into Settings
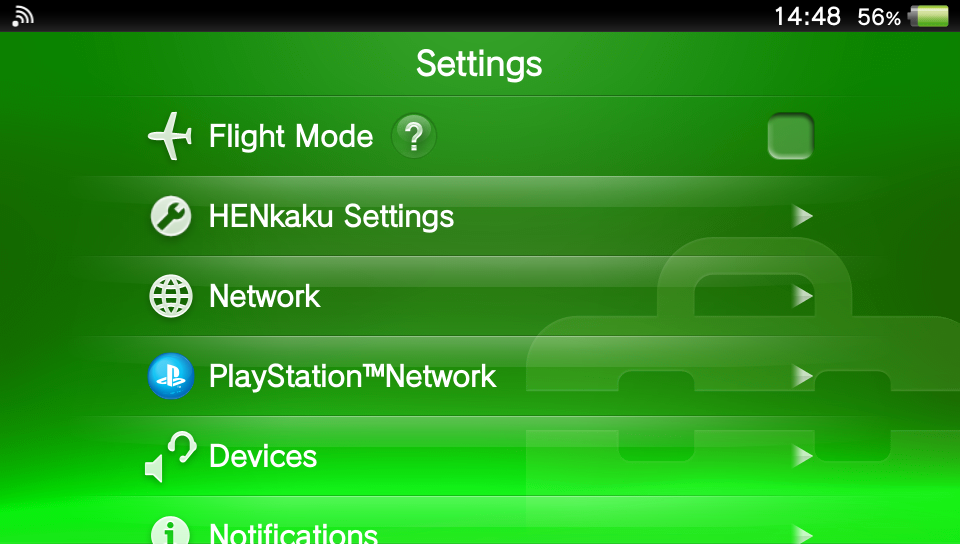
Step 10
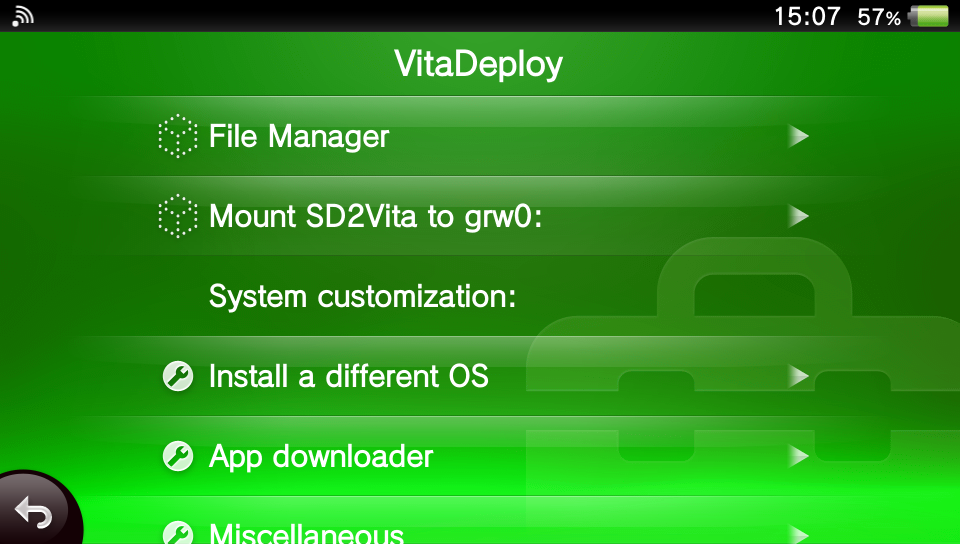
Now go back into VitaDeploy
Now press Square [□] on every file/folder inside that directory. (Except the SceloTrash folder, leave this unselected)
Press Triangle [△] & select "Copy".
Now press the 2 dots at the top to go backwards through the directory, access the uma0 folder, scroll down to highlight SceloTrash folder, hit Triangle [△] & select "Paste".
Once thats complete press PS button & close VitaDeploy.
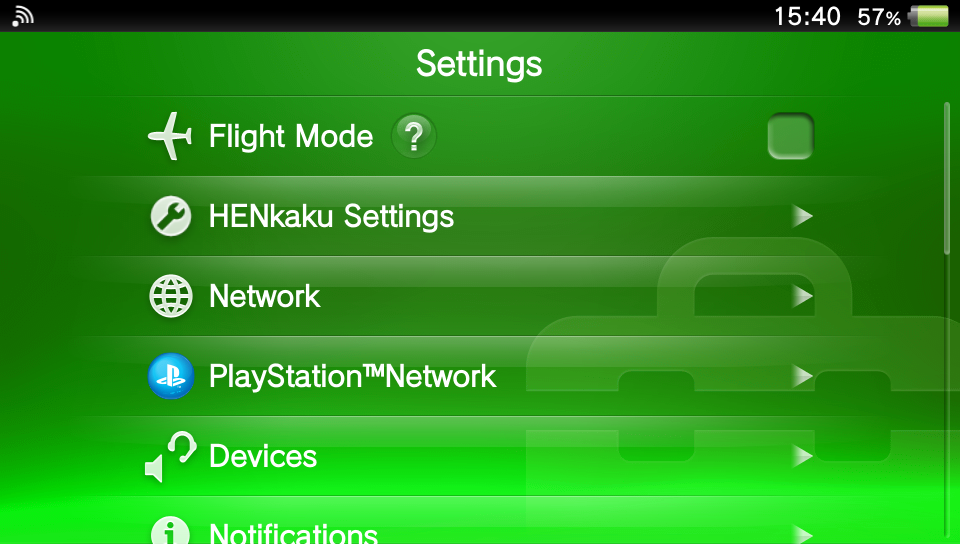
Now go back into Settings
If your using a PSVita 1000 Model, change uma0 to "Memory Card".
If your using PSVita 2000 Model you can just select "Internal Storage".
Now reboot your Vita again by turning it off & back on.
You should now see your Micro SD Card storage displayed in Settings
Adding Main Applications
Step 11
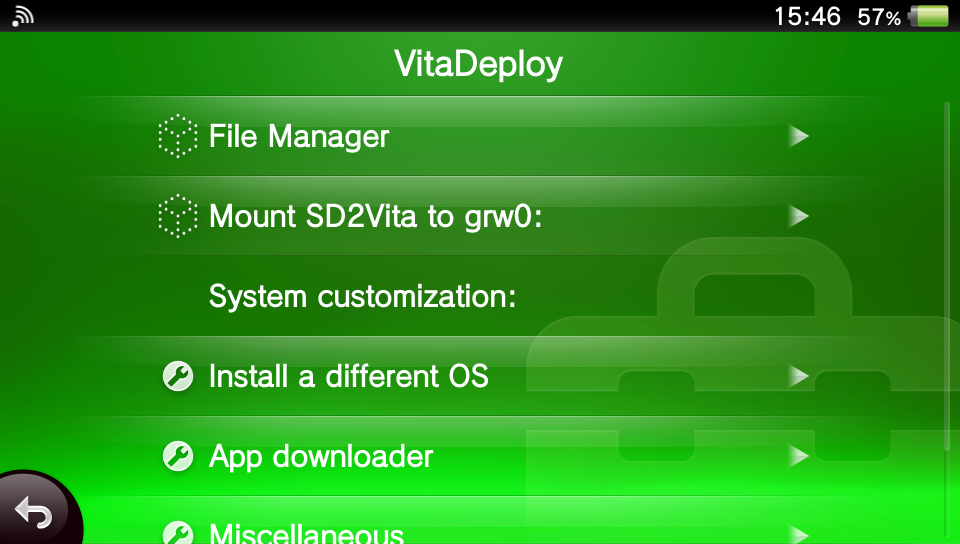
Lets open up VitaDeploy.
Select "App Downloader" & check the following apps:
- "VitaShell"
- "ITLS Installer"
- "Adrenaline" (if you'd like to play PS1/PSP games)
Wait for the file manager to appear & scroll down to Adrenaline, press Triangle [△] & select Mark all, then Triangle [△]
Confirm installation for all 3 applications. Once complete you can safely close the VitaDeploy application.
Step 12 - Installing ITLS
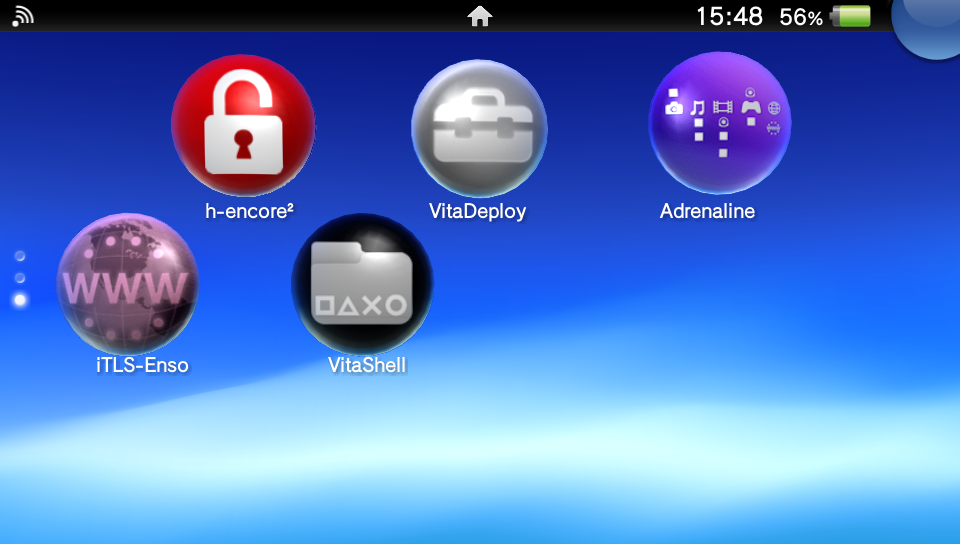
Now you should have those 3 applications on your homescreen.
First, open the ITLS application. Once open select Install the full ITLS package, once installed your device will automatically reboot.
Now you can safely access the PS Store & access any games/apps you owned previously!
Step 13 - VitaShell
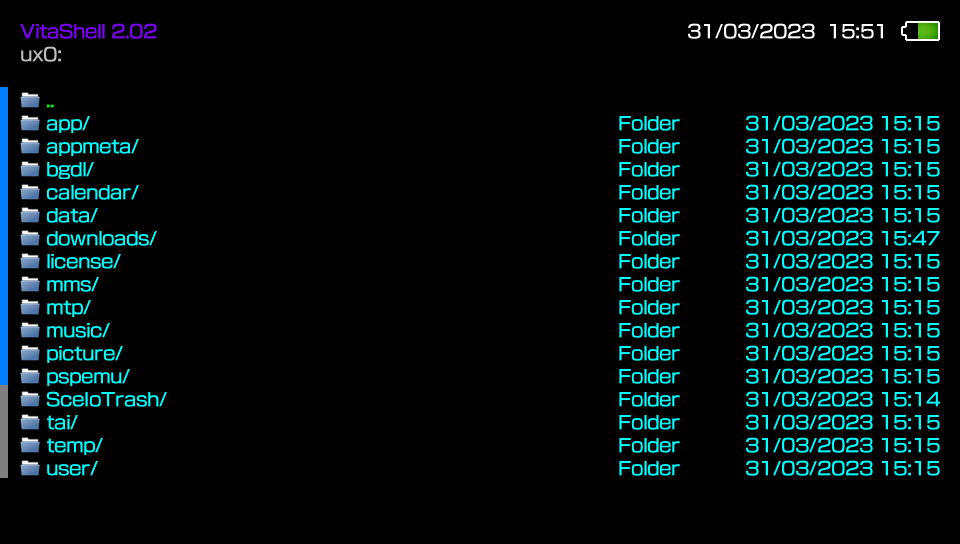
Now lets setup VitaShell so that we can move apps/games from our PC to our Vita easily.
Open VitaShell & press [start] button, Now change USB DEVICE to "sd2vita".
If you want to easily transfer files from your PC to Vita, simply open VitaShell, connect your Vita to your PC via USB & press the [select] button to open the Vita directory on your PC.
Step 14 - Installing Adrenaline
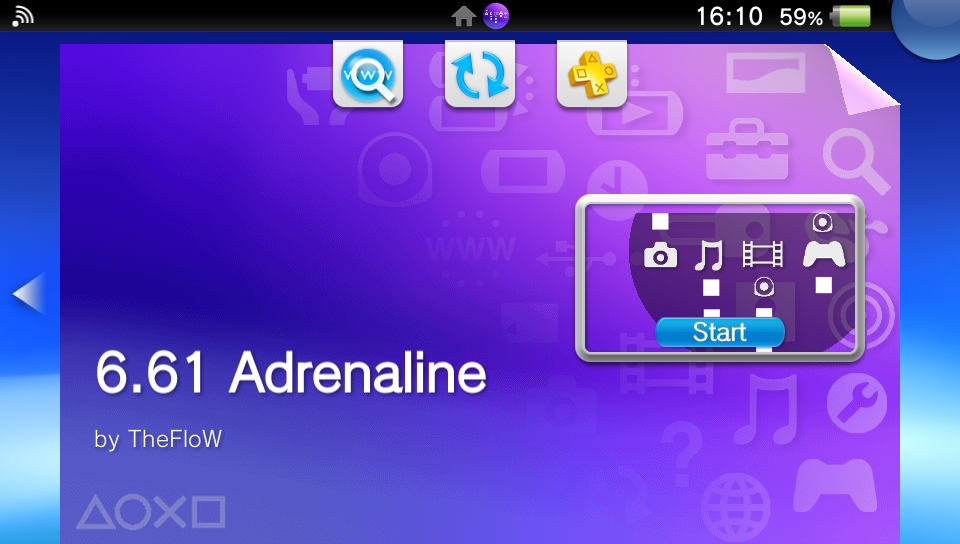
First time loading Adrenaline it will ask you to install the 6.61 PSP firmware (w/ CFW).
Once its installed you will notice the PSP boot screen appear & it will load into the PSP setup, after thats complete you will have a fully functioning PSP environment on your PSVita, you can also play all your PSP/PS1 titles & emulators within this PSP environment!
To exit back to your normal PSVita homescreen, just double tap the PS Button.
You may notice the Adrenaline app doesn't launch on the first attempt but launches on the second attempt, to fix this, check out the next step!
Step 15 - Installing AutoPlugin 2 + Fix Adrenaline Bug
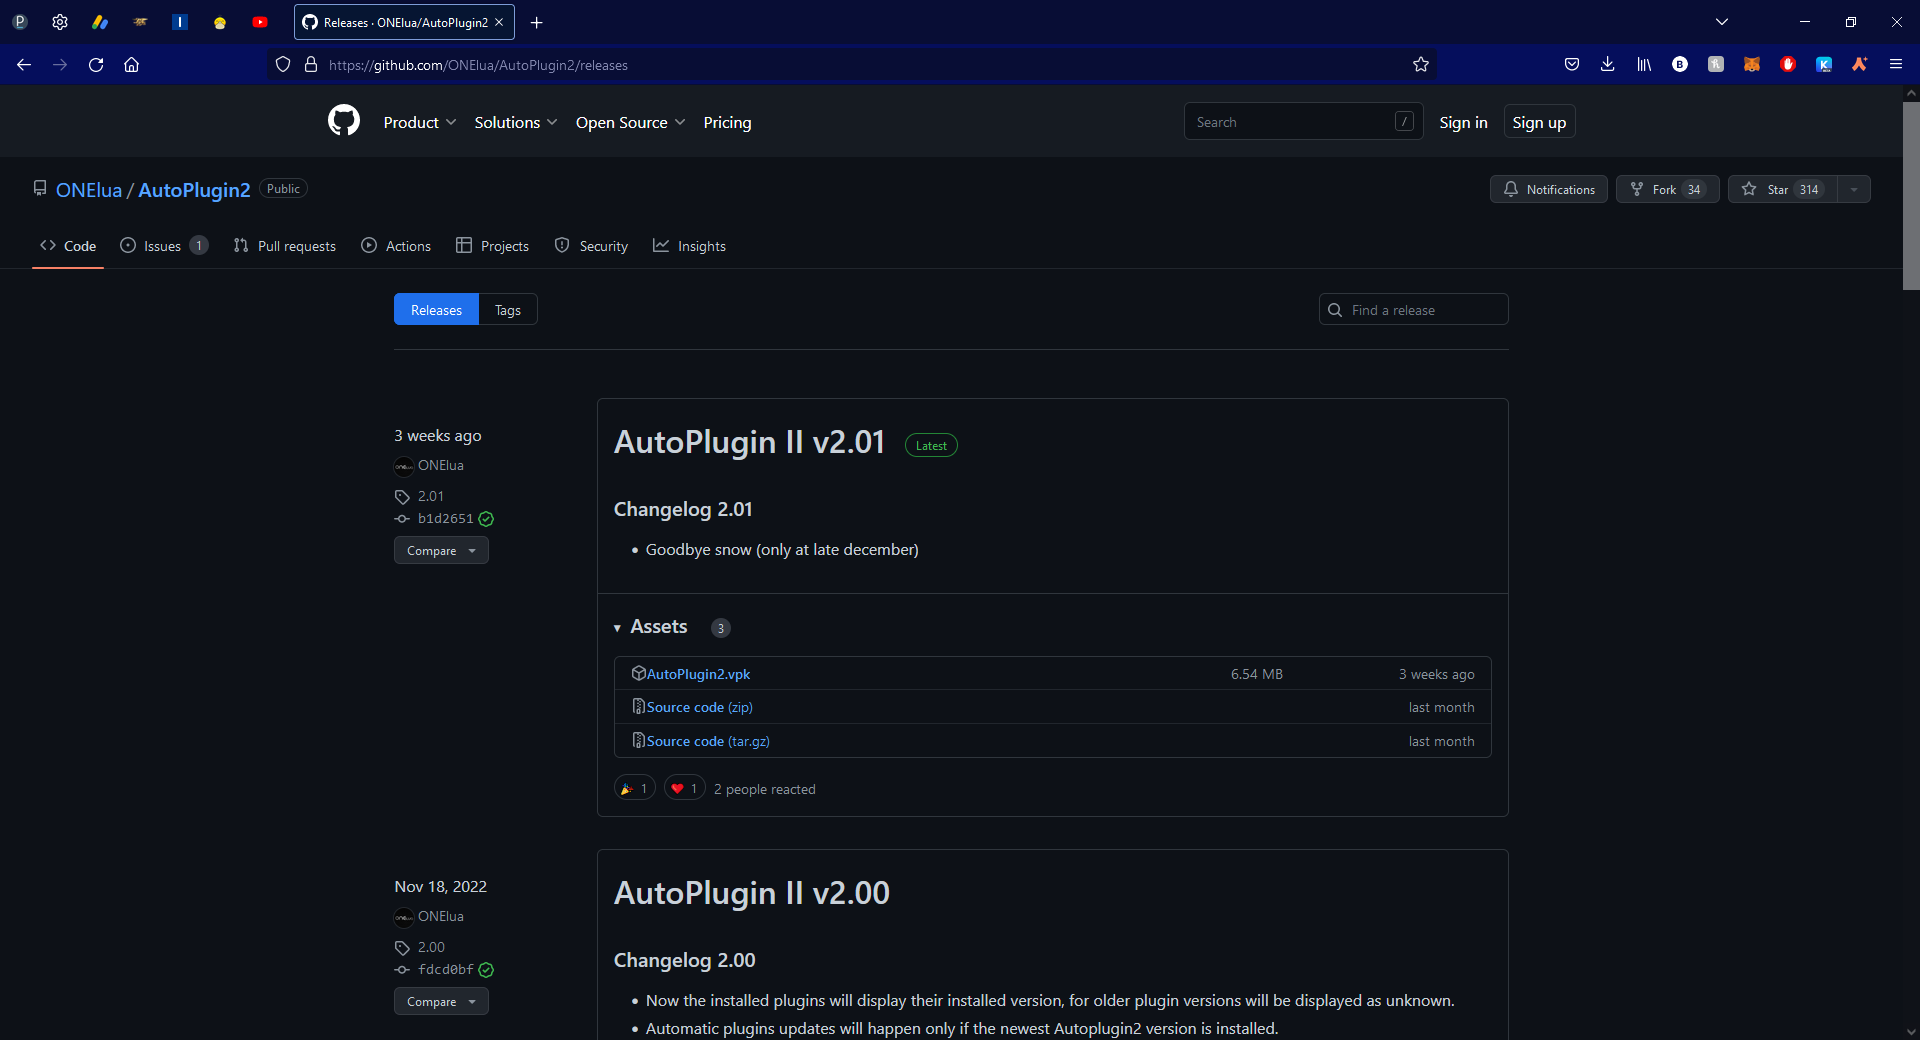
To fix the double tap glitch for Adrenaline, Go to the AutoPlugin Releases on Github & download the AutoPlugin2.vpk file.
Now open VitaShell, plug your Vita into your PC & press the [select] button on your Vita, When the window pops up on your PC, drag the AutoPlugin2.vpk into the downloads folder on your Vita.
Now on your Vita, navigate to downloads & press [X] on the AutoPlugin2.vpk to install the package.
The AutoPlugin 2 application should now appear on your homescreen, open it & select Vita plugins
Preventing Future Updates/Notices
Step 16
Now lets make sure we don't get any auto updates or update alerts etc.
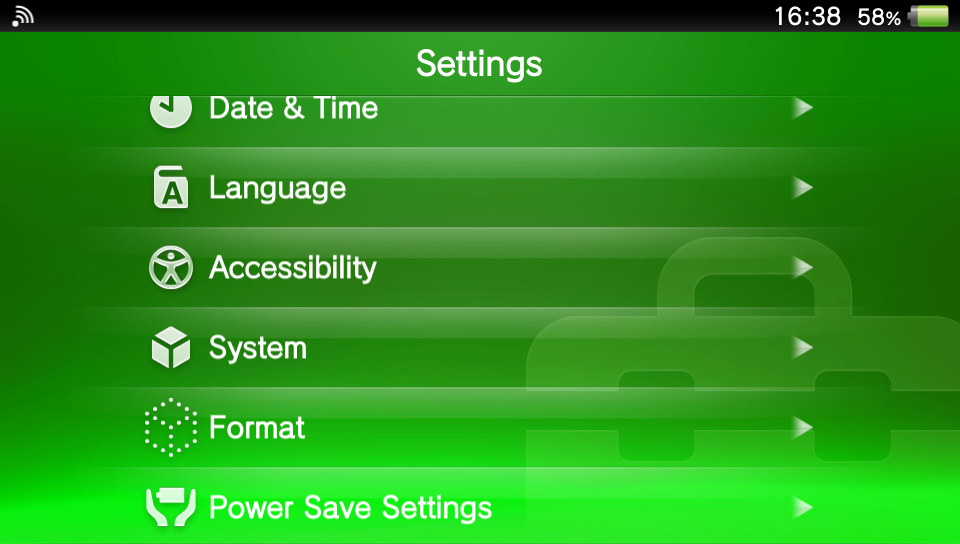
Go to Settings
Now go back to the main Settings page & select the HENkaku Settings & make sure "Enable Version Spoofing" is checked, Also change the Spoofed Version number from "3.73" to "3.74".
Outro
Congratulations! You have successfully downgraded your PSVita firmware + installed the latest custom firmware, learnt how to setup your 3rd party Micro SD Card as your main storage device & successfully optimized the firmware!
Donate Here