Guides
How To Install RetroArch on a PSVita


Intro
In this guide I will show you how to setup & install RetroArch on a PSVita (CFW Required).
RetroArch is an open-source frontend program for running emulators, game engines and more! RetroArch allows you to emulate all your favourite retro games going as far back as The Odyssey 2!
Step 1
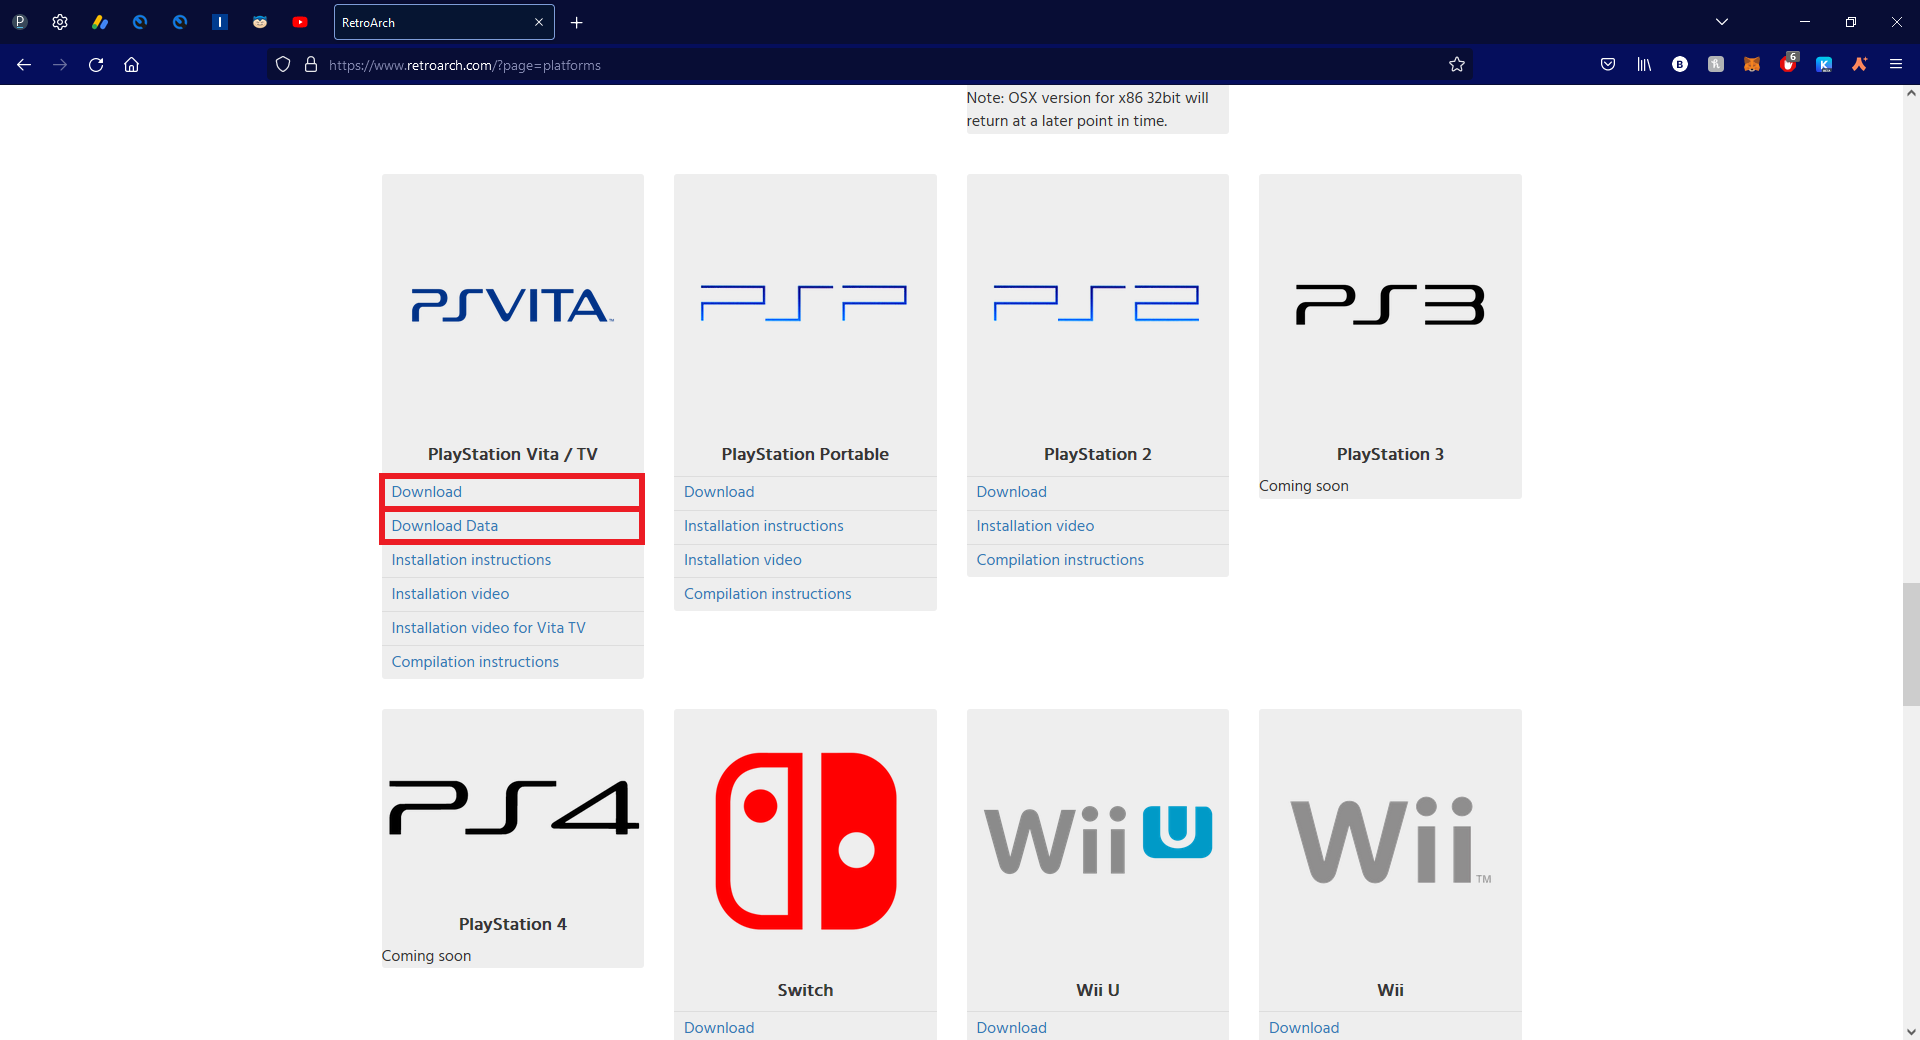
First, we need to get the RetroArch files for the PSVITA, to do this go to https://www.retroarch.com/, scroll down to PSVita, select both the "Download" & "Download Data" links to get both the .vpk file, and the application data.
Step 2
To place the files on your PSVita, we'll need to open the VitaShell application on the PSVita & then connect it to a computer.
Now press the [select] button, this will bring up the PSVita's directory on your computer.
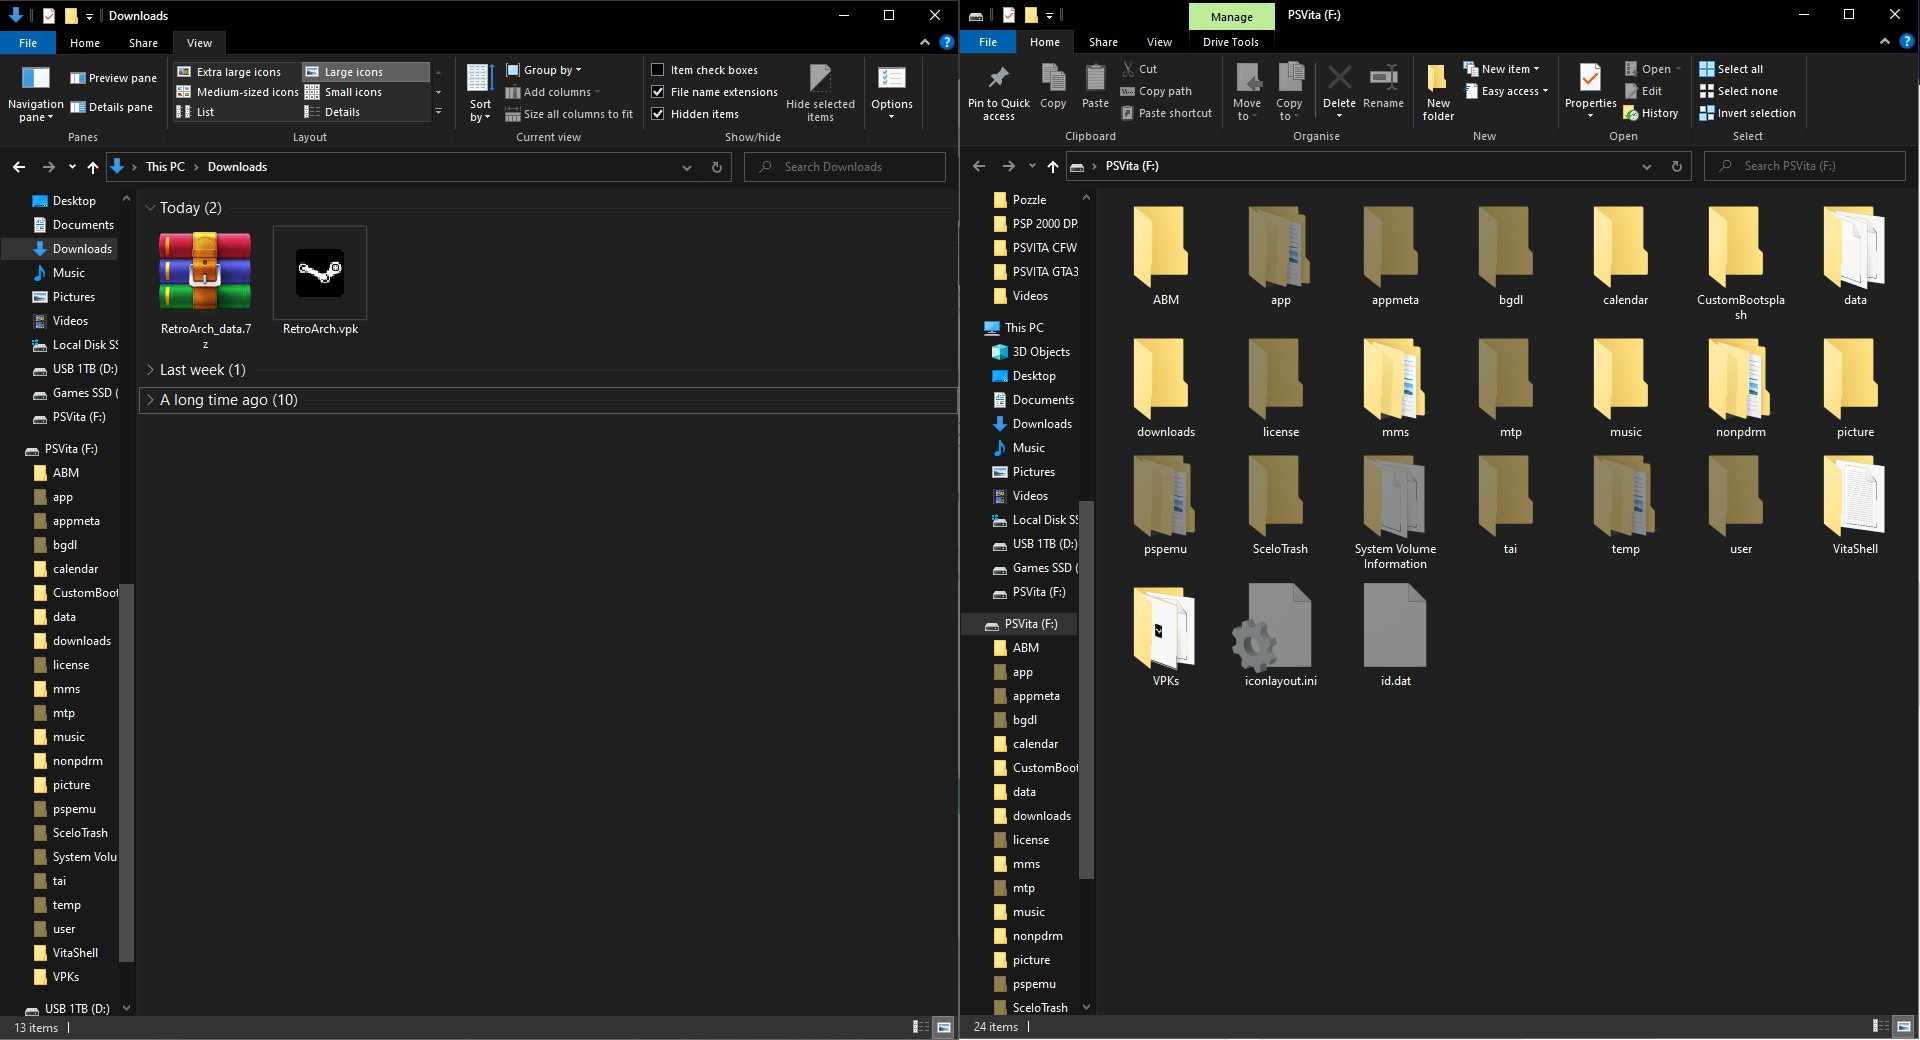
Now copy the RetroArch.vpk file into your PSVita's downloads folder.
If you don't have a downloads folder, just create one in your PSVita's root, or if you already have a VPKs folder, you can just use that instead
Now we need to go back to our computer and access the Downloads folder, then extract the RetroArch_data.zip, once extracted, open the folder & drag the retroarch folder into your PSVita's data folder.
Step 3
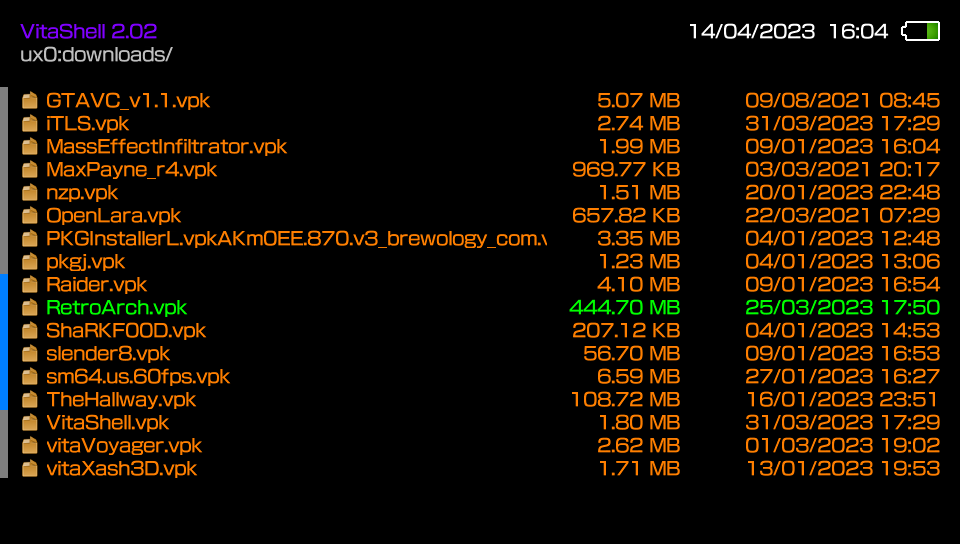
On your PSVita, navigate to the downloads folder, scroll down to the RetroArch.vpk & install.
Once thats installed you can safely exit out of VitaShell.
Now you just need to open the RetroArch application on your PSVita (this will automatically create the necessary folders in the Vita's directory), once the app is open you just need to scroll down & hit "Quit RetroArch".
Step 4
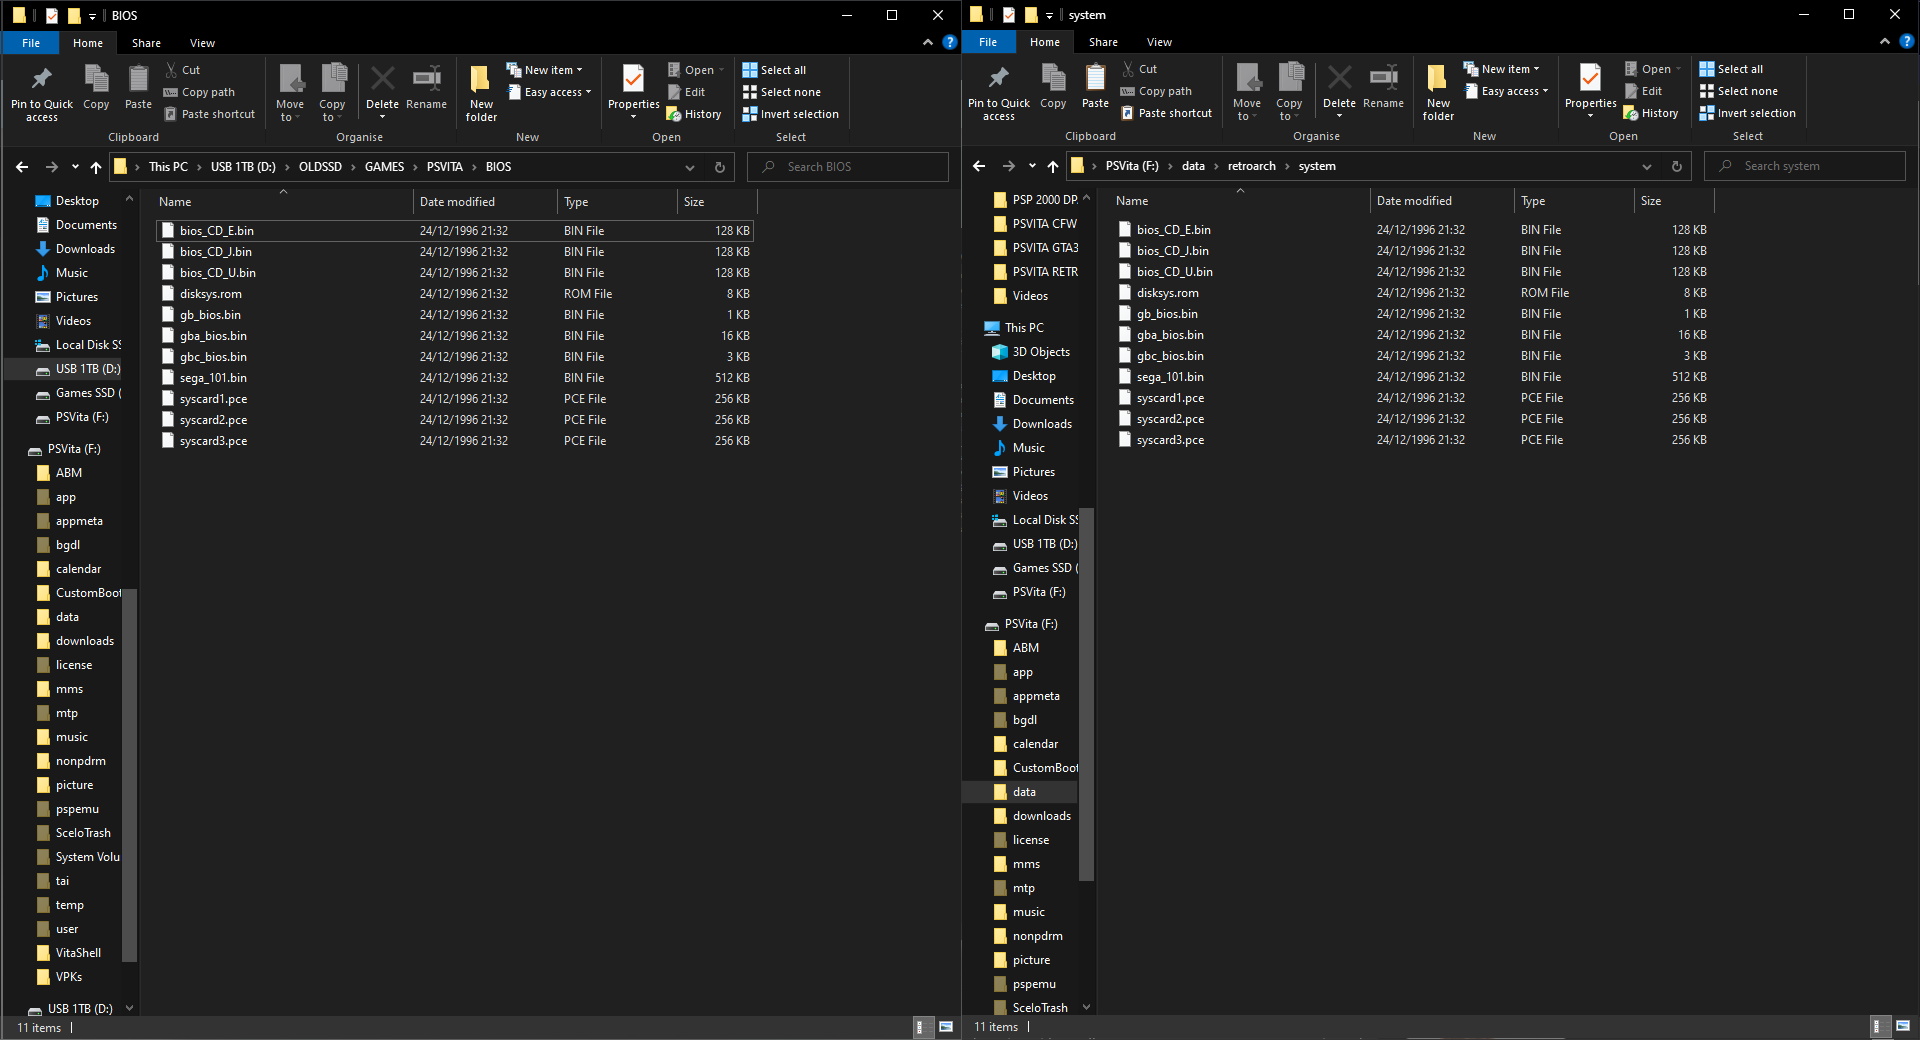
Now we need to download some bios files for some different game systems (i.e GB, GBA, NES, SNES, SEGA etc).
You can back them up from the actual consoles or find them online.
Now go back into VitaShell & connect to your computer again by pressing the [select] button.
Now go into data
Step 5
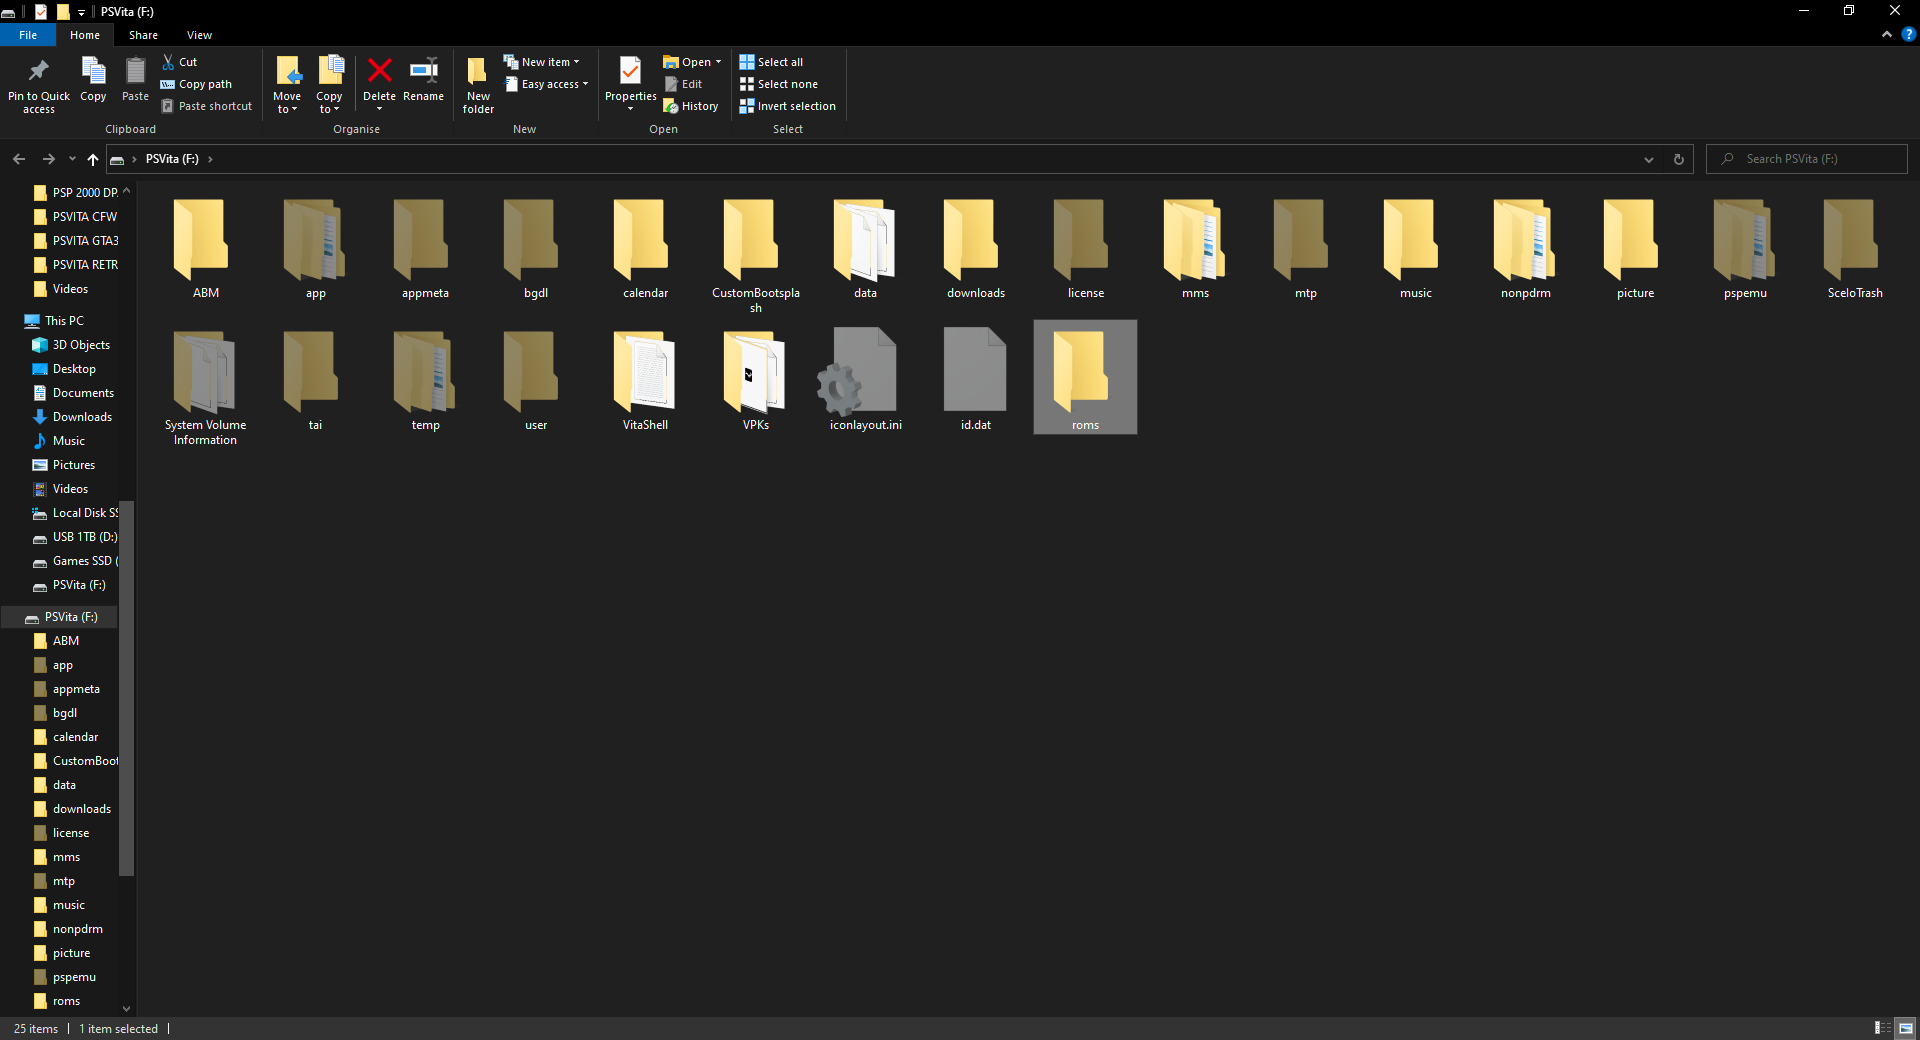
Now go back to the root of your PSVita & create a folder called roms, this is where we will put our game folders/files.
Step 6
Now lets do some configuration for RetroArch!
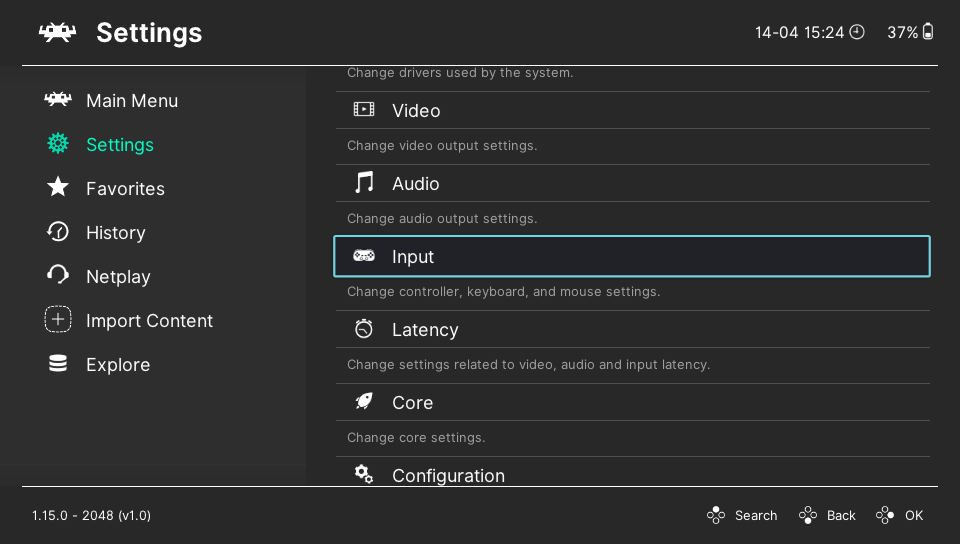
First, open RetroArch, you'll notice that the [X] & [O] buttons are reversed, if you'd like to change this, go to "Settings"
Go back to Main Menu, scroll down to "Configuration File" & select "Save Current Configuration".
Configuring the UI
Step 7
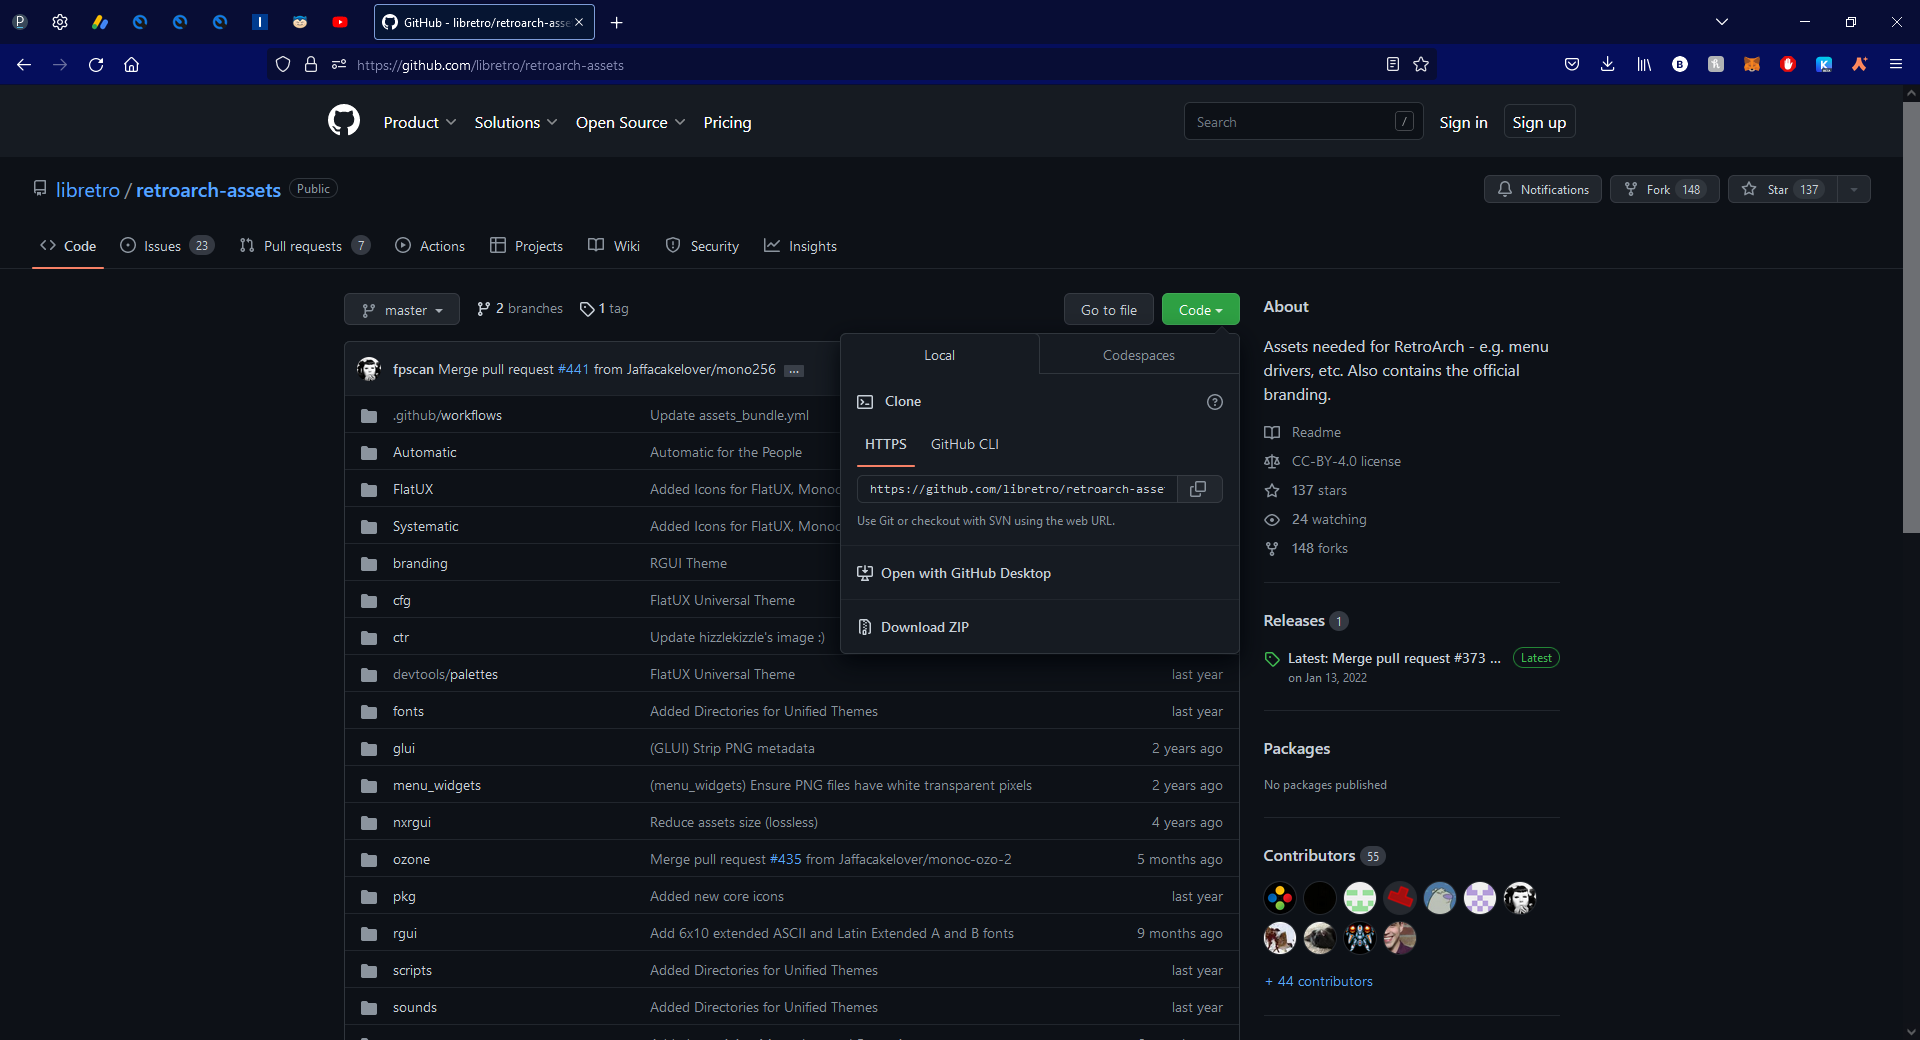
First, load up your PC & go to https://github.com/libretro/retroarch-assets & press "Code"
Now on your Vita, open VitaShell, plug your Vita into your PC & press the [select] button. Now extract the zip folder in your downloads, open the folder & navigate to the xmb folder & copy it to your PSVita in location - data
Step 8
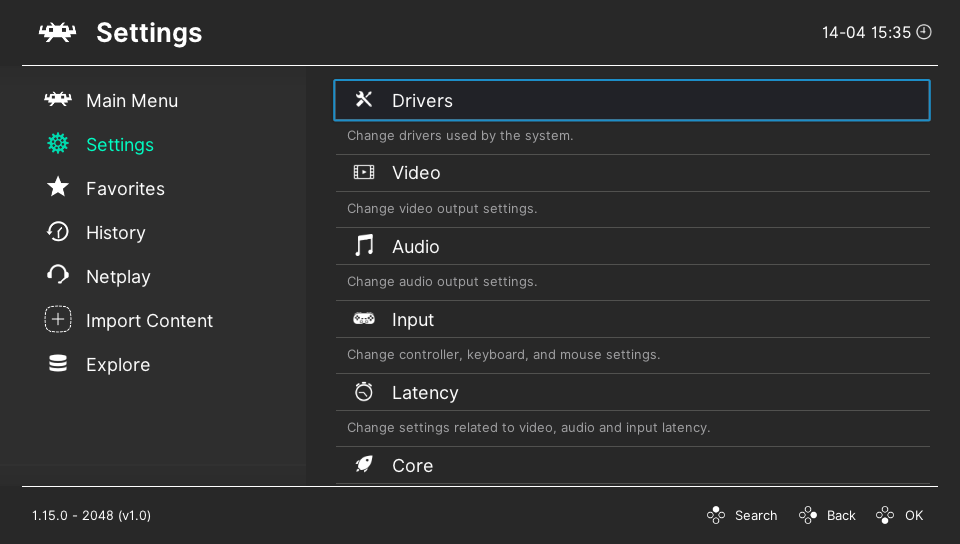
Now go to Settings
Now go to Main Menu
Now you can go to the main menu, scroll down to "Quit RetroArch" & then re-open the app to see the changes!
If your xmb doesnt have a background color, you can go to Settings
This image is free to download and use for your Vita's background!

Step 9
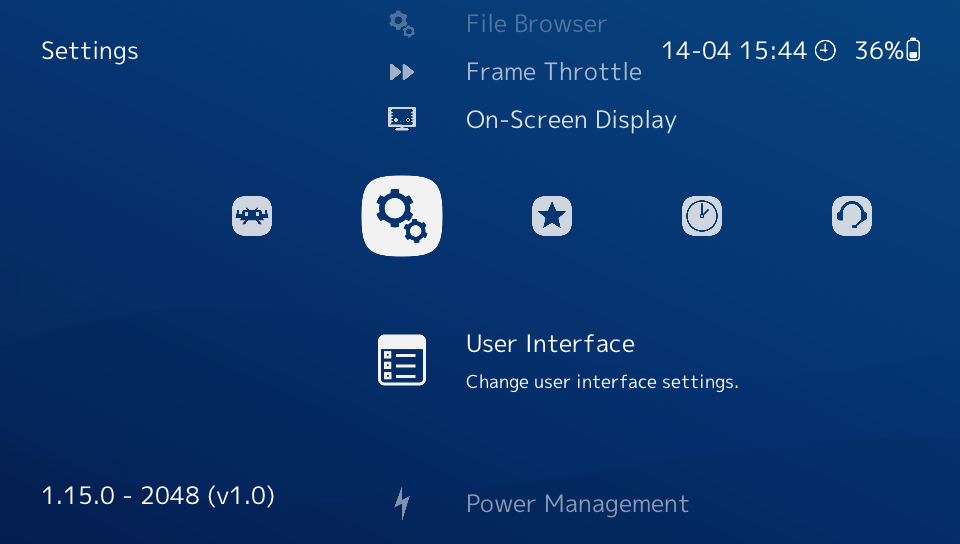
Now lets change the text size so that everything fits on the screen nicely!
In RetroArch, navigate to the Settings
Step 10
Now lets setup our games & clean-up the playlists!
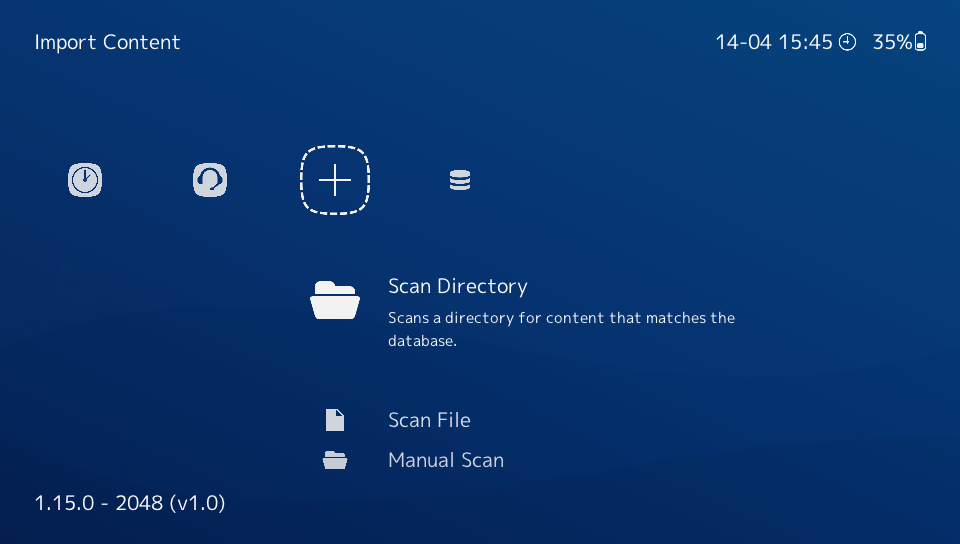
Go to the plus (+) menu & select "Scan Directory", scroll down to the ux0 directory, then scroll down to the roms folder & then select one of your game folders (i.e GB, GBA, SNES, NES etc), then "Scan this directory".
Now go back to the main menu screen & you should see a new playlist of the game folder you selected.
Other Tips
Game BoxArt & Thumbnails
You can also add boxart and/or thumbnails to your games in the menu!
To do this, go to Settings
You can also set Settings
Go back to your games selection & as you scroll through each game you will notice the images being added, if some images don't load you can press [X] on the game & scroll down to "Download Thumbnails", If that still doesn't work it could be because the game file doesn't have the region in it's name i.e (USA, Europe etc) and there is also some games that just aren't in the database so they don't have images.
Cleaning up Game Titles
You will notice most of your game files will be displayed with information in the game title such as: "(USA)", "(Europe)" or "(Rev1)" etc.
To remove these, navigate to Settings
Quick-Menu Hotkey
If you want to be able to access the quick menu whilst in-game, so that you can easily restart game, return to RetroArch etc, you'll need to setup Hotkeys, to do this, go to:
Input
Set it to whatever you like, I like to use "Hold Select (2 Seconds)".
Fast-Forward Hotkey
A Fast-Forward hotkey can be useful for games that have a lot of text boxes, or cutscenes that you may want to skip, to do this, you'll need to go to:
Input
Set it to whatever you like, I like to use [RT].
Reset Content Hotkey
If you want to setup a hotkey to restart your game quickly (useful for Pokemon Shiny Starter Hunting for example), you'll need to set the "Rest Content" hotkey, to do this, go to:
Input
Set it to whatever you like, I like to use [LT].
Transferring Game Saves From Other Emulators
When transferring saves from external sources, it's important they are added to the correct folder & that the name of the save file is identical to the name of the game file (Except for the file extension).
The saves folder is located: PSVita:/data/retroarch/savefiles/
Outro
Congratulations! You have successfully learnt how to install + setup RetroArch, Configure the application & install all your favourite retro games!
Donate Here